

Query parameters
In this example, you will learn how to effectively use query parameters to tailor GET request URLs, specifying required and optional data inputs using both explicit values and placeholders.
Query parameters typically appear at the end of a request URL, following a question mark (?), and consist of various name=value pairs divided by ampersands (&). These parameters may be either mandatory or optional.
These parameters are specified and evident solely in GET requests and operate effectively with endpoints that utilize the GET method. The values for these parameters can be specified explicitly or through the use of a placeholder, such as ${input.
Prerequisites
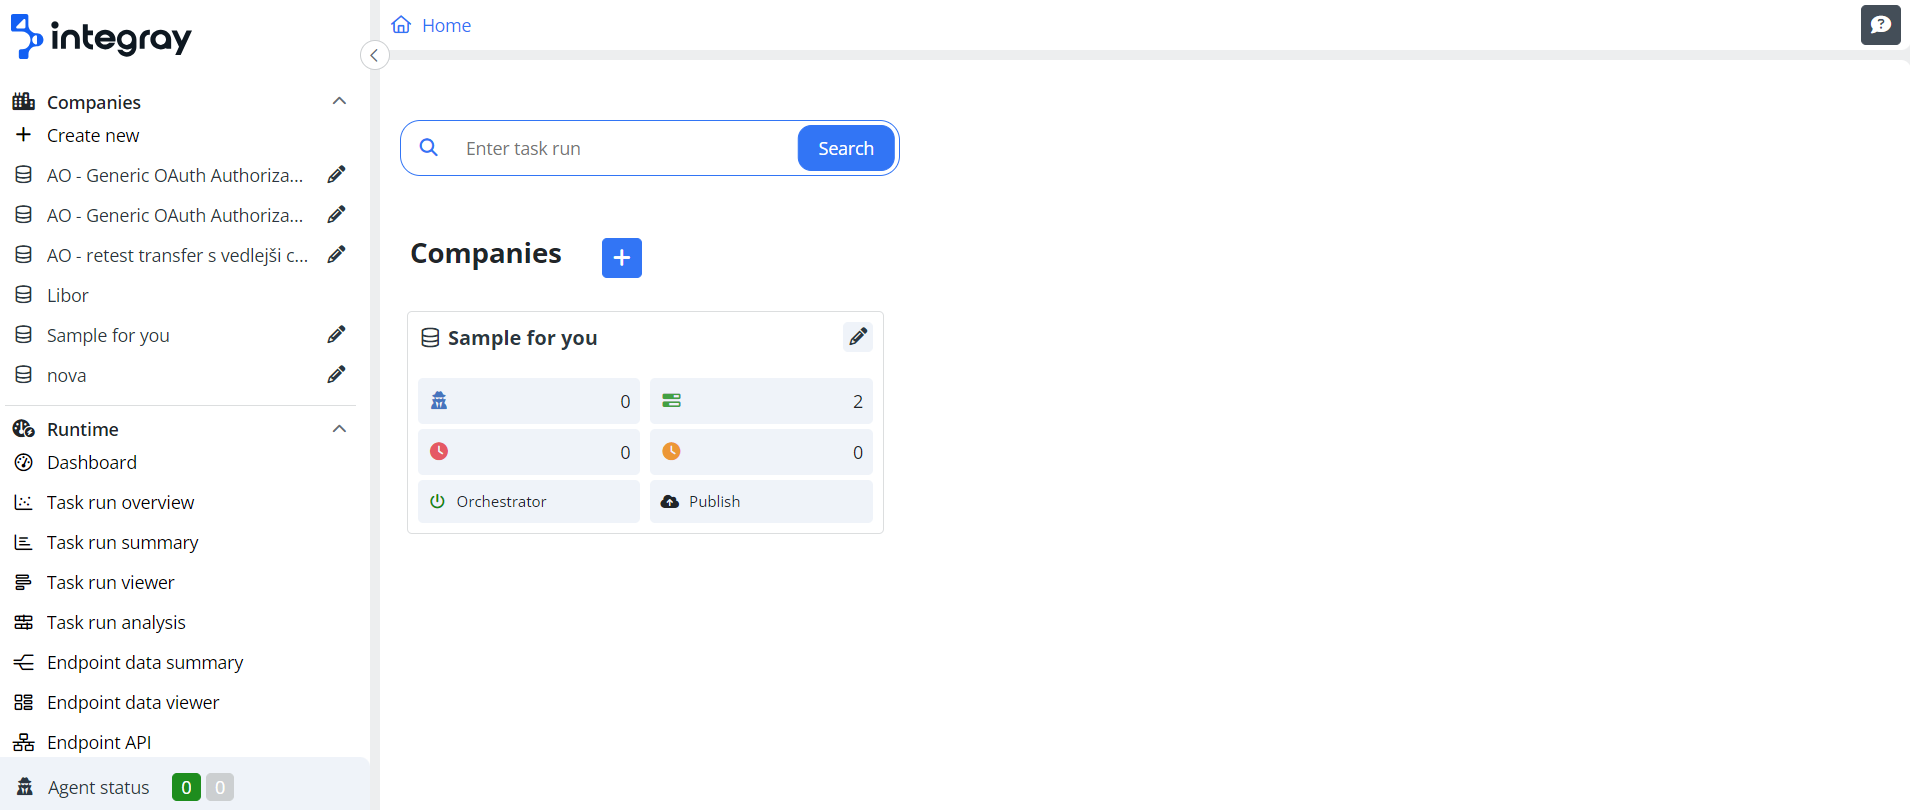
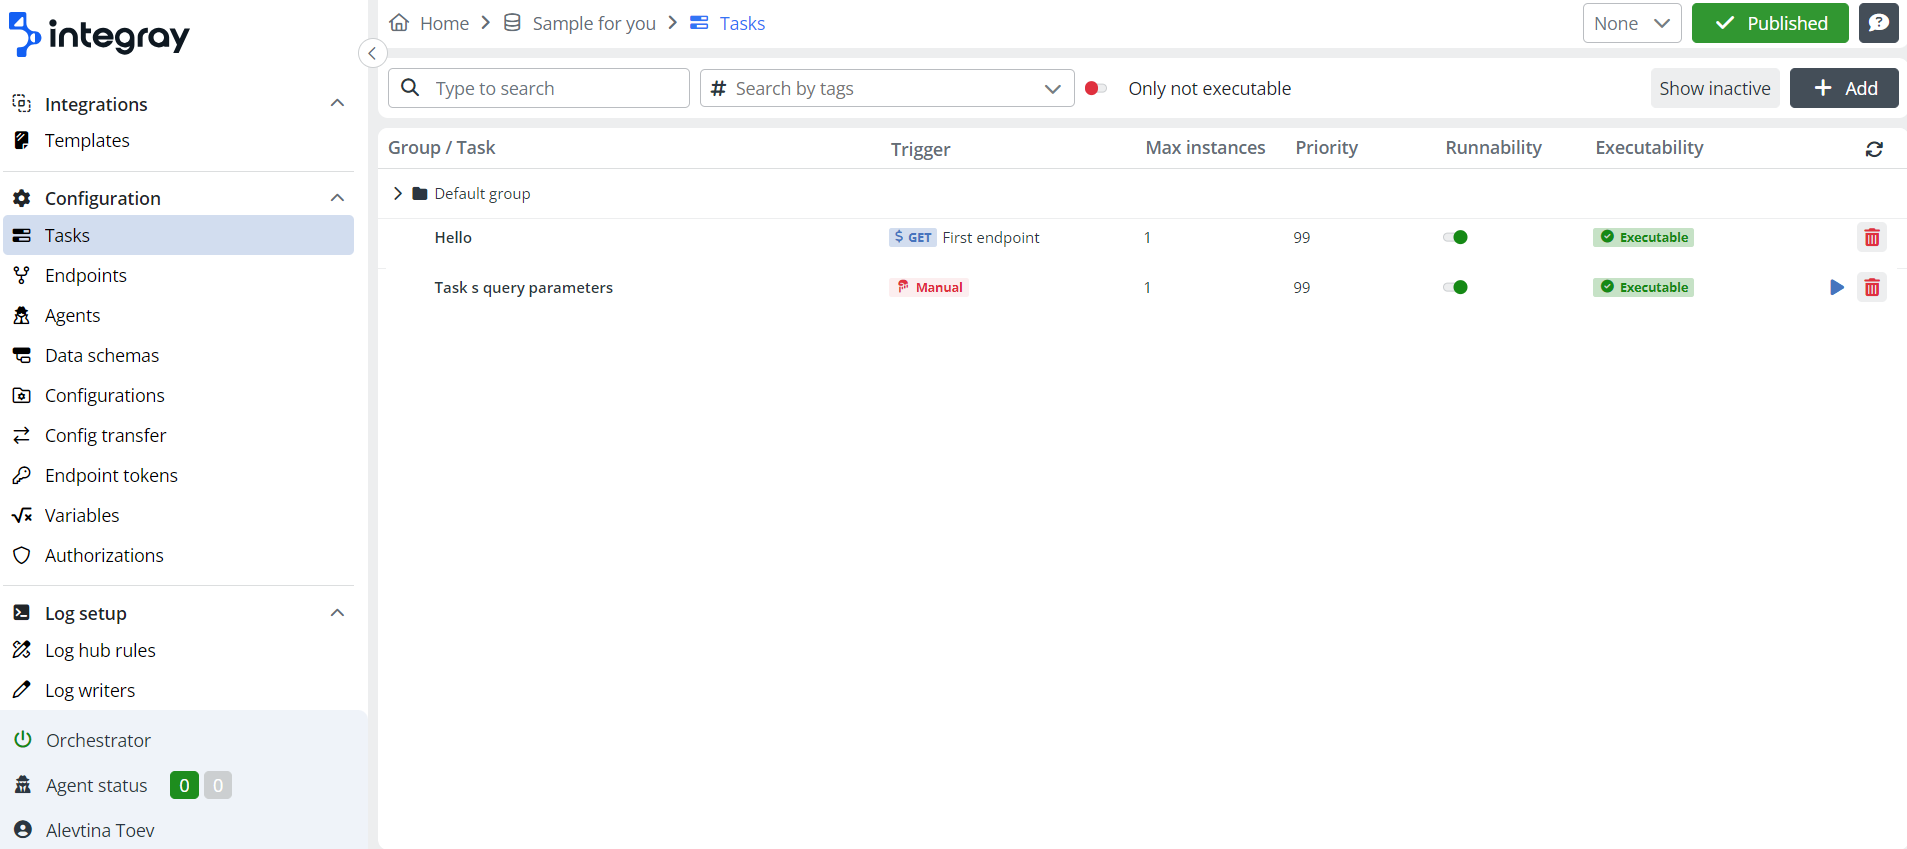
After logging in to the Trial, you received a ready-made company Sample for Your Name with a task and an endpoint.
Review the task settings and the endpoint again HERE, up to the point where you are prompted to copy the endpoint link and paste it into the browser's address bar. At this point, you will pause and create a new task with the Integray Endpoint Connector, which will perform the aforementioned actions based on the company and endpoint you have selected. In simple terms, you will take the link that you copy from the endpoint and insert it into the Integray Endpoint Connector's configuration. Let's go through everything in more detail.
Configuration
Add new task and name it Task with Query Parameters.
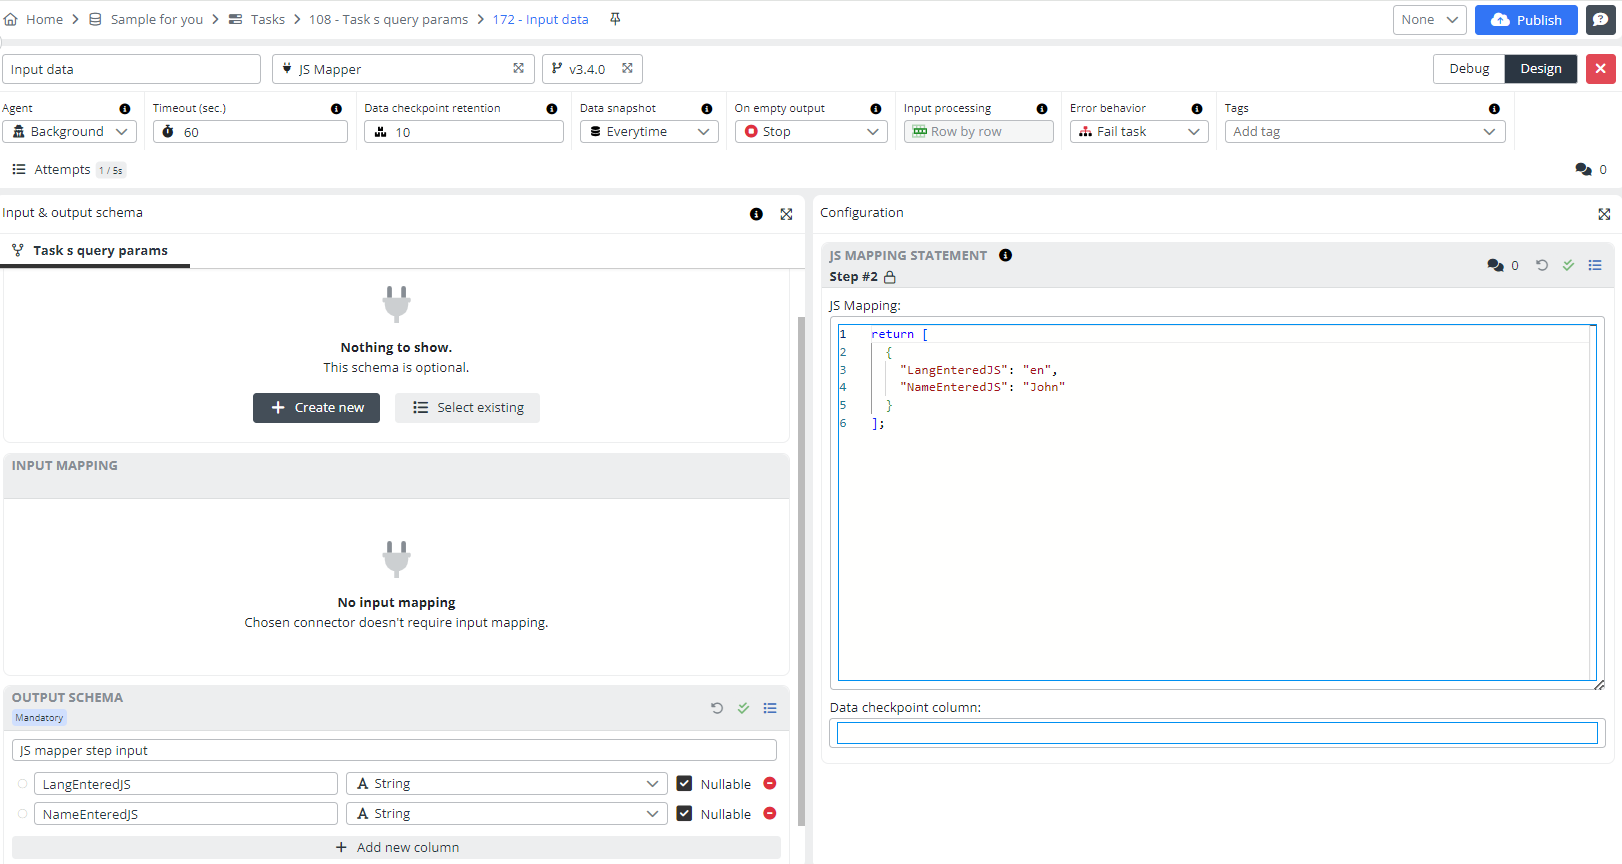
Let's start with the first step, where we will set the name and language. For this, we will use the JS Mapper connector. We will select the language - English, and the name - John.
Add a first Task step:
- Step name: Input data
- Connector: JS Mapper
Open the Task step editor by clicking the button with the pencil symbol.
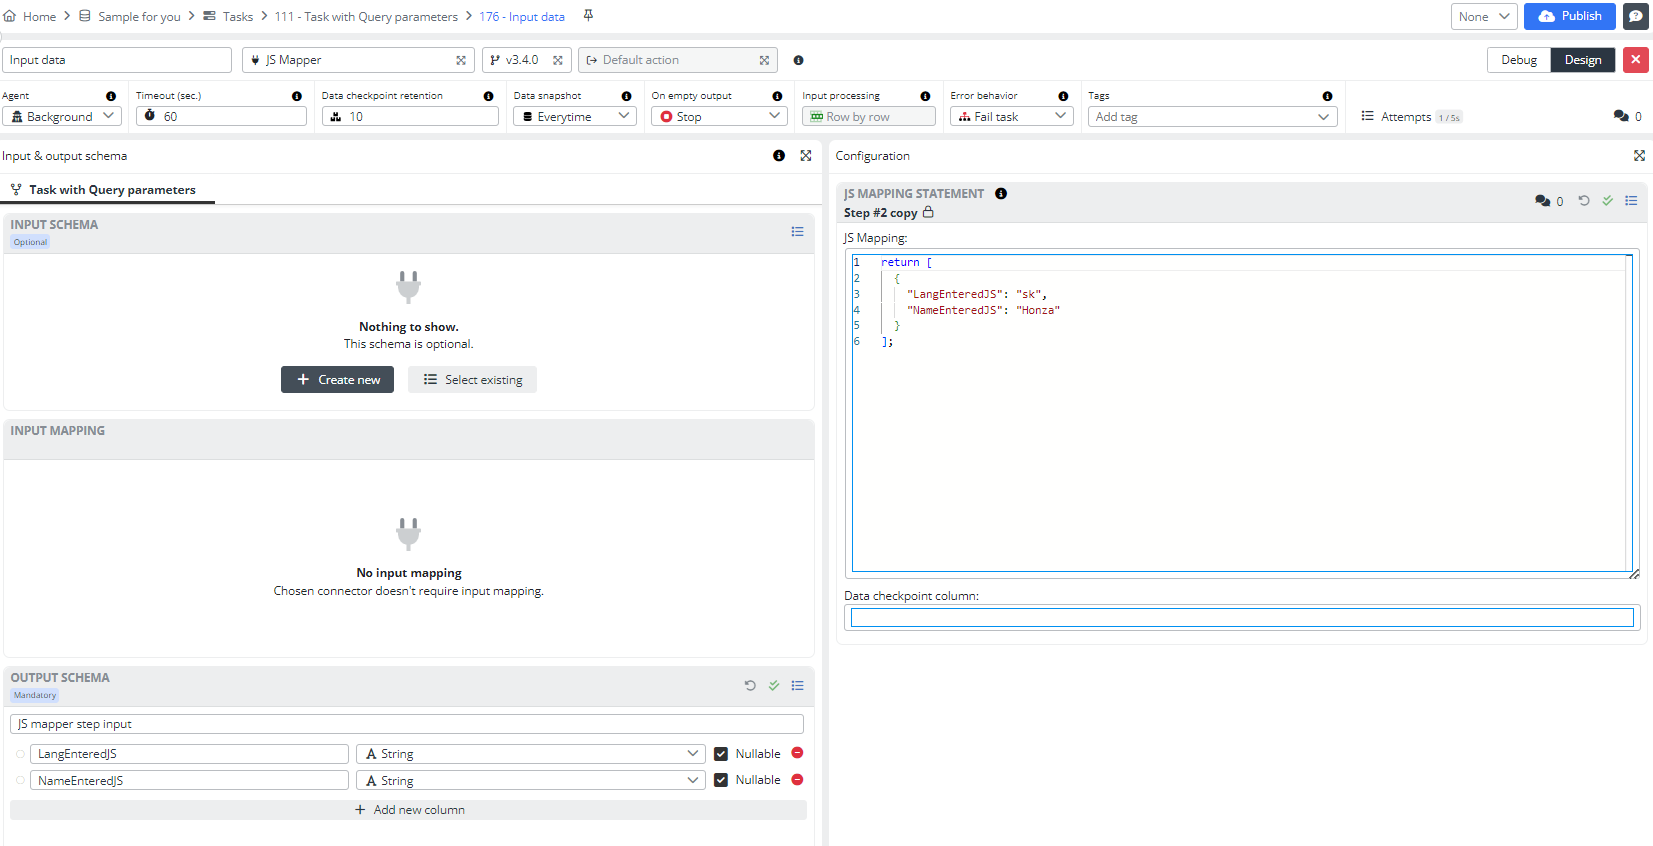
Insert the following code into the JS Mapping statement configuration:
return [
  {
    "LangEnteredJS": "en",
    "NameEnteredJS": "John"
  }
];
Visually, the configuration should look like this:
Save all configurations and close the step.
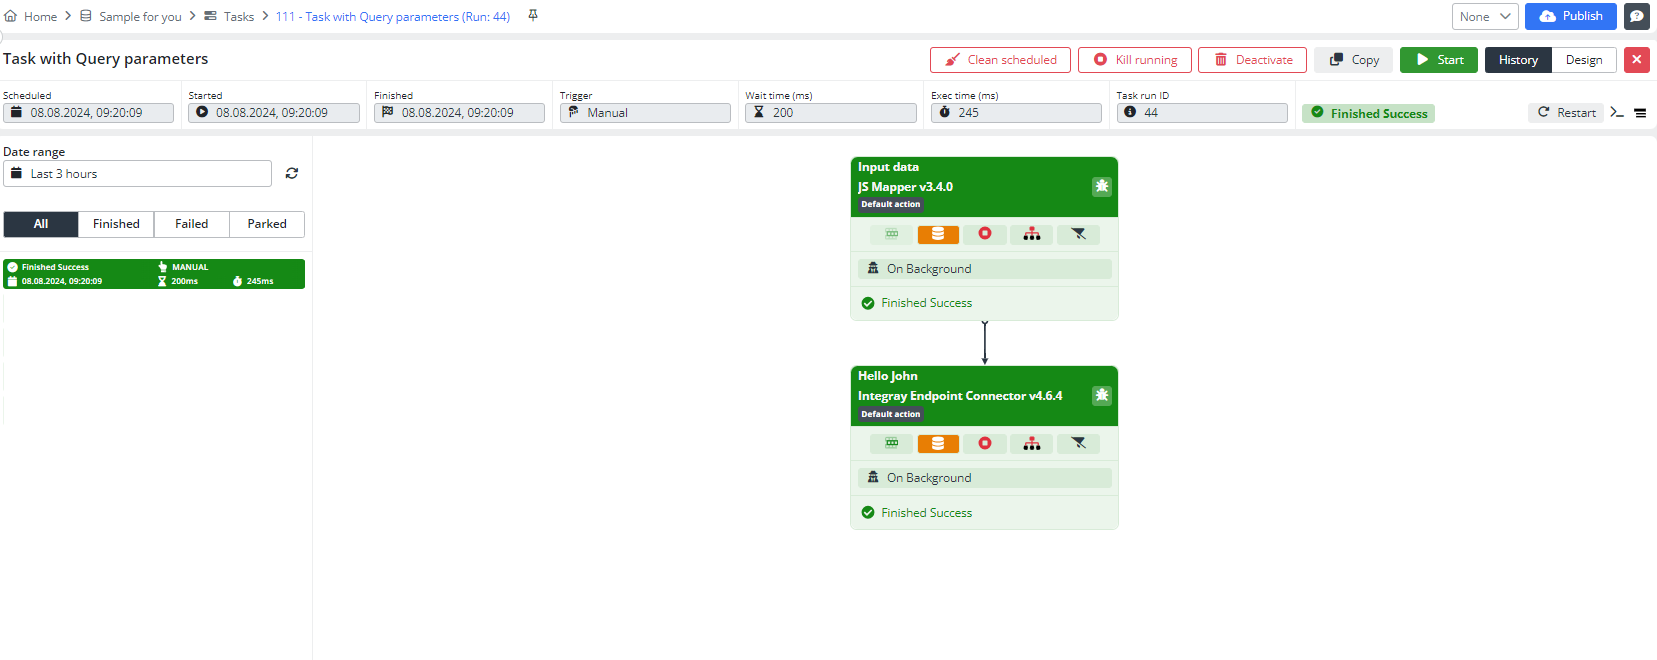
Add a second Task step:
- Step name: Hello John
- Connector: Integray Endpoint Connector
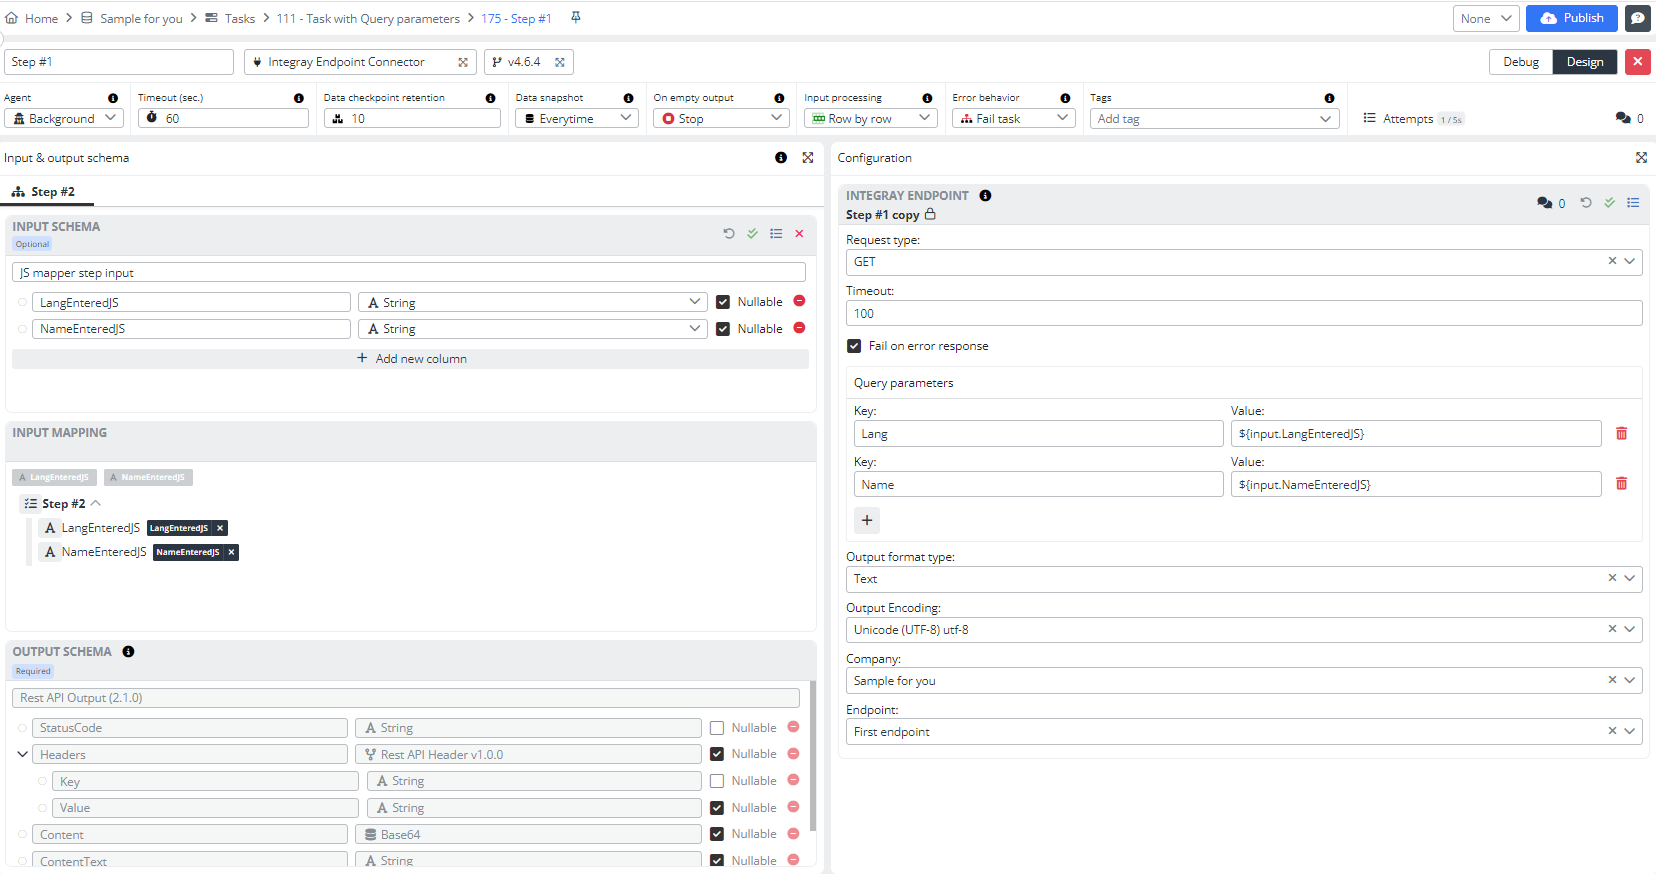
Open the Task step editor. Select the Input schema JS mapper step input, the Output schema Rest API Output, and pin the input mapping.
Fill in the configuration fields.
Request type- GET (after that, the Data field will change to Query parameters field)Timeout- 100Fail on error response- mark this checkboxOutput format type- TextOutput Encoding- Unicode (UTF-8) utf-8Company- Sample for your nameEndpoint- First endpointQuery parameters- As you may have noticed, we skipped this field. Now, let's discuss in detail how to fill it out and why.
Query parameters or URL parameters or query strings are used when a client, such as a browser, requests a particular resource from a web server using the HTTP protocol. These parameters are usually the name-value pairs, separated by an equals sign =. Query parameters have to be mapped against the structure of input data schema.
Fill in the Key field with the input data at your endpoint. Fill the Value field with placeholders from the input schema at your task step.
| Key | Value |
|---|---|
| Lang | ${input.LangEnteredJS} |
| Name | ${input.NameEnteredJS} |
The configuration should look like this:
Now save your configuration, close the task step, click the Publish button, and start the task.
Result
As you may recall, in your first integration, you needed to add Language and Name parameters to your Endpoint URL. The result was a running Task called by the Endpoint and the outcome looked like as follows:

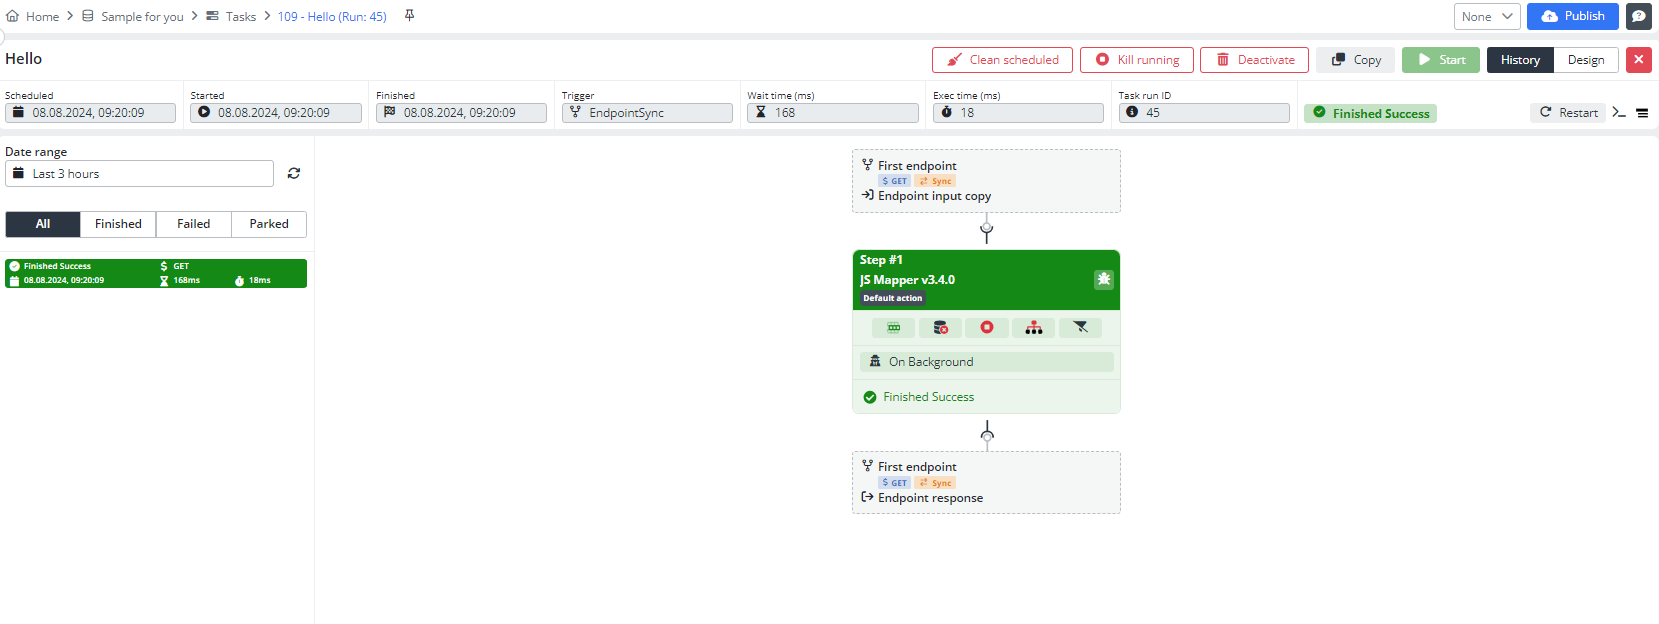
Now that you have started the task with the Integray Endpoint Connector, it automatically triggers the first task just as the Endpoint did in your First integration.
Open the Task History; you will see that the task has finished successfully. Open the Data Snapshot, expand it, and you will see that you achieved the same result without copying the link and adding other parameters to it.
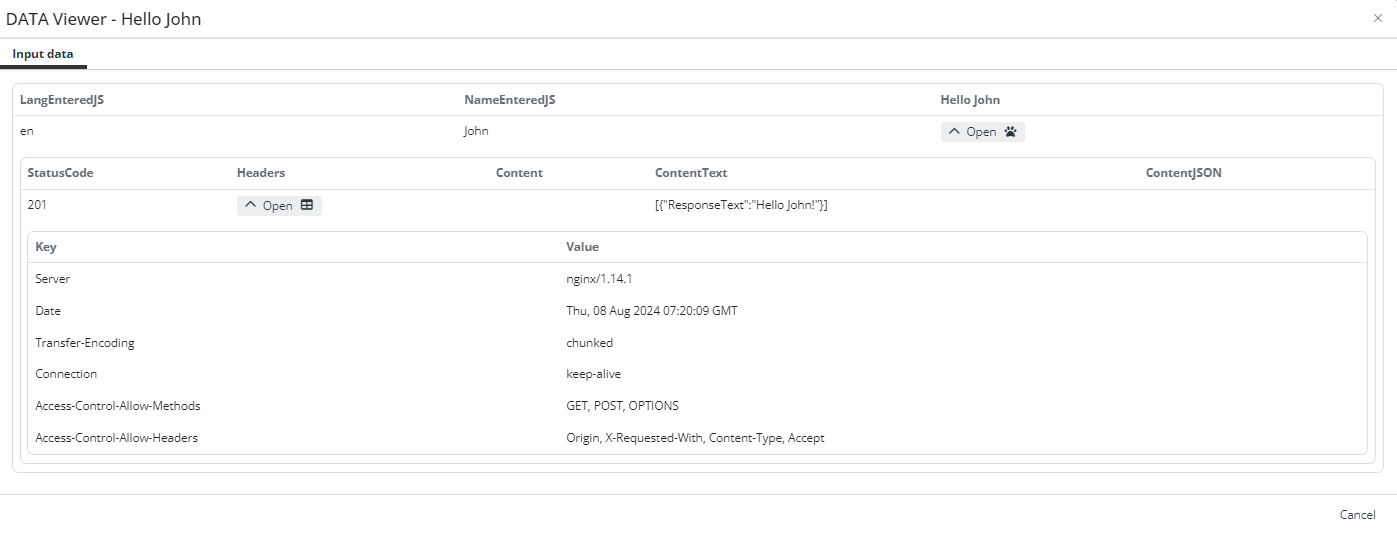
Now try something else. Change the data in the first step. Switch the language from English to Slovak and the name from John to Нonza.
Don't change anything in the second step, just Рublish the Тask and run it. Open the Task History; you will see that the task has finished successfully. Open the Data Snapshot, expand it, and you will see that the language and name have changed. This was made possible thanks to placeholders in the Query parameters.

Great job on completing this basic example using query parameters! If you're feeling ready for the next step, we recommend experimenting with your own configuration of this task. Feel free to join our community forum to discuss, exchange experiences, and get help from other users. For more ideas and configuration examples, check out our Example Library, which offers a range of useful examples. Additionally, explore our Knowledge Base section for more information about Integray.