OAuth2 typ with MS Azure
Let’s walk through the process of setting up OAuth authorization in Integray using Microsoft Azure login.
Microsoft Azure Setup
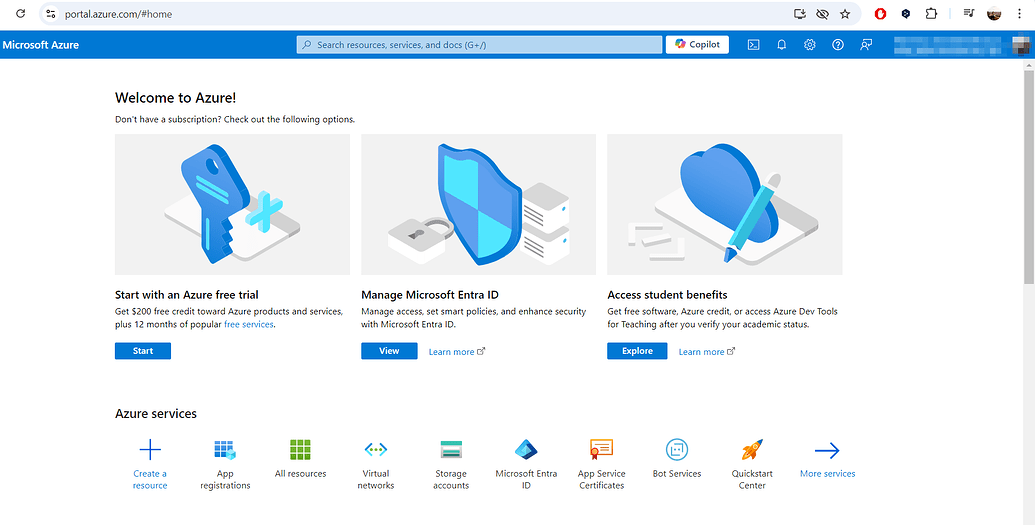
The first thing you need to do is create your own "app" on the Microsoft Azure portal: Create an Azure app. This will provide you with the essential credentials required for the authorization process.
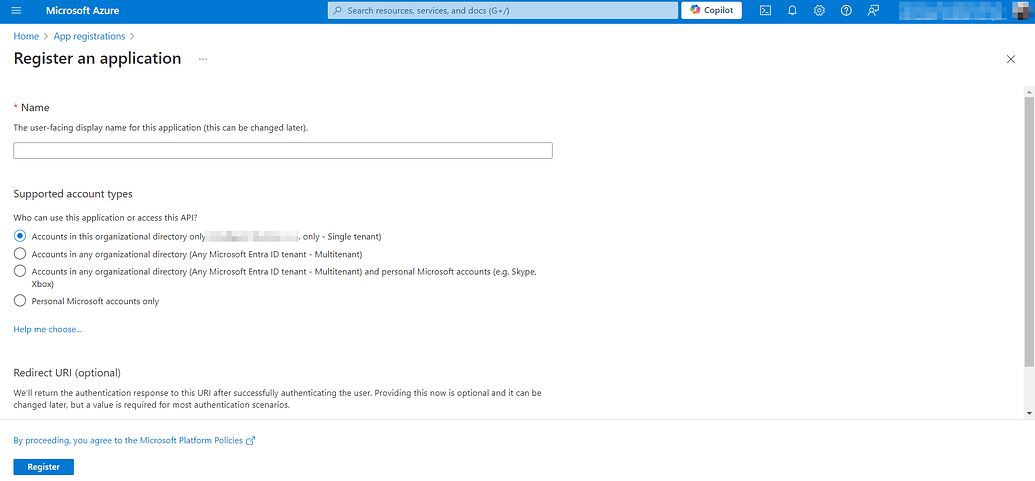
Now, you'll need to complete the following details:
- App Name
- Supported account types (here you need to select the first option "Accounts in this organizational directory only - your organization - Single tenant")
- Redirect URI - (It says that this is optional, but it will still be required. We'll skip this section for now and come back to it later.)
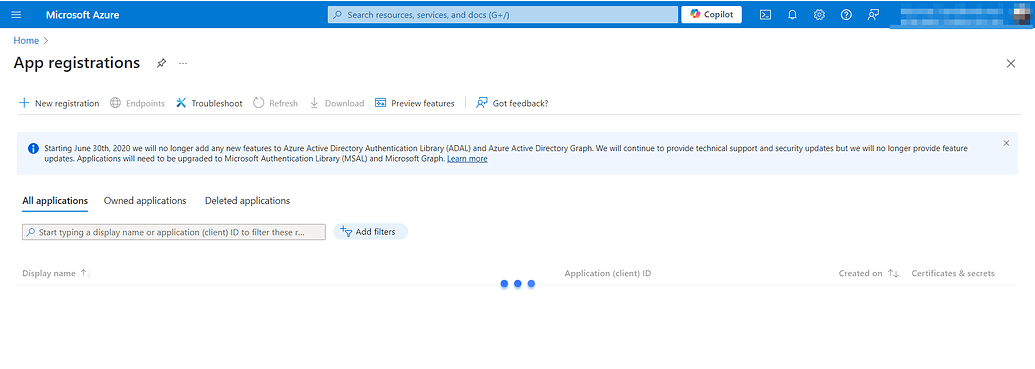
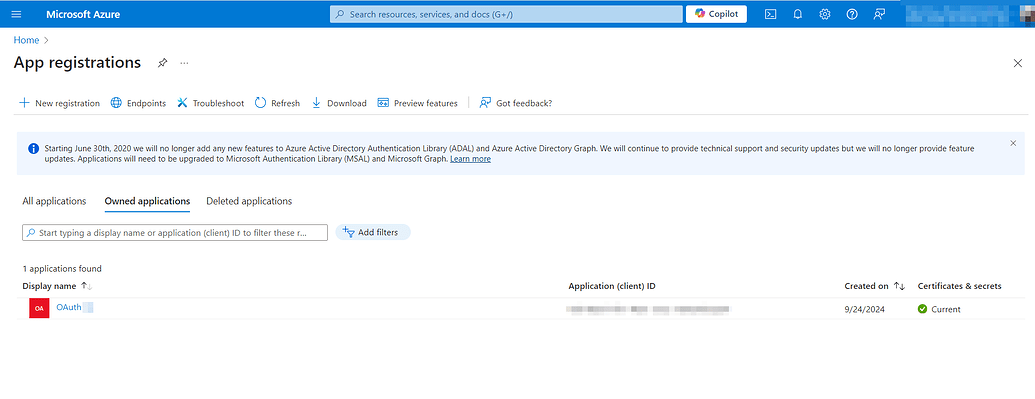
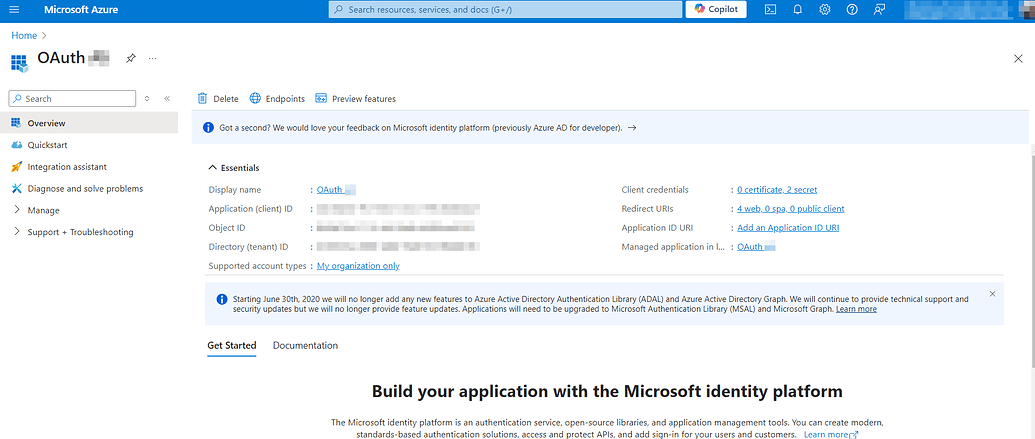
Now hit the Register button, and you can see your application registration in the App registrations grid.
Click on the application name and go to its details.
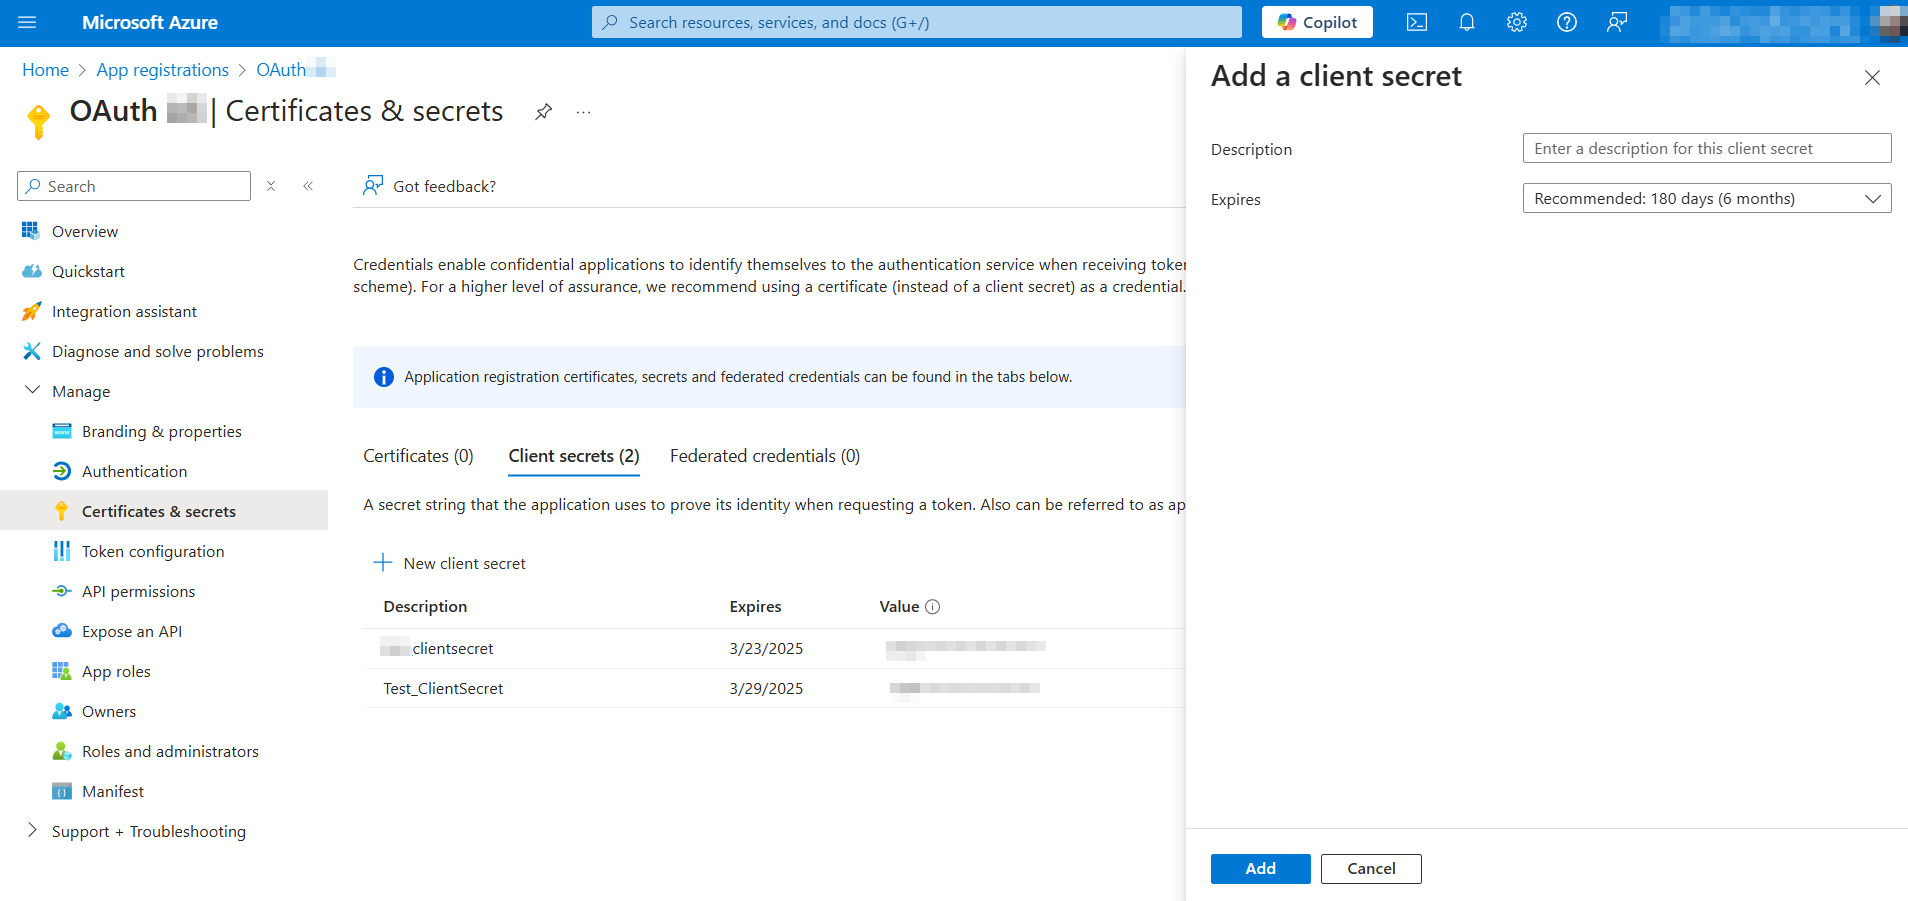
For successful authorization, we need to add some client credentials – a client secret. Go to the Certificates & Secrets section in the left-hand menu.
In the table, you will see the name, expiration date, value, and secret ID.
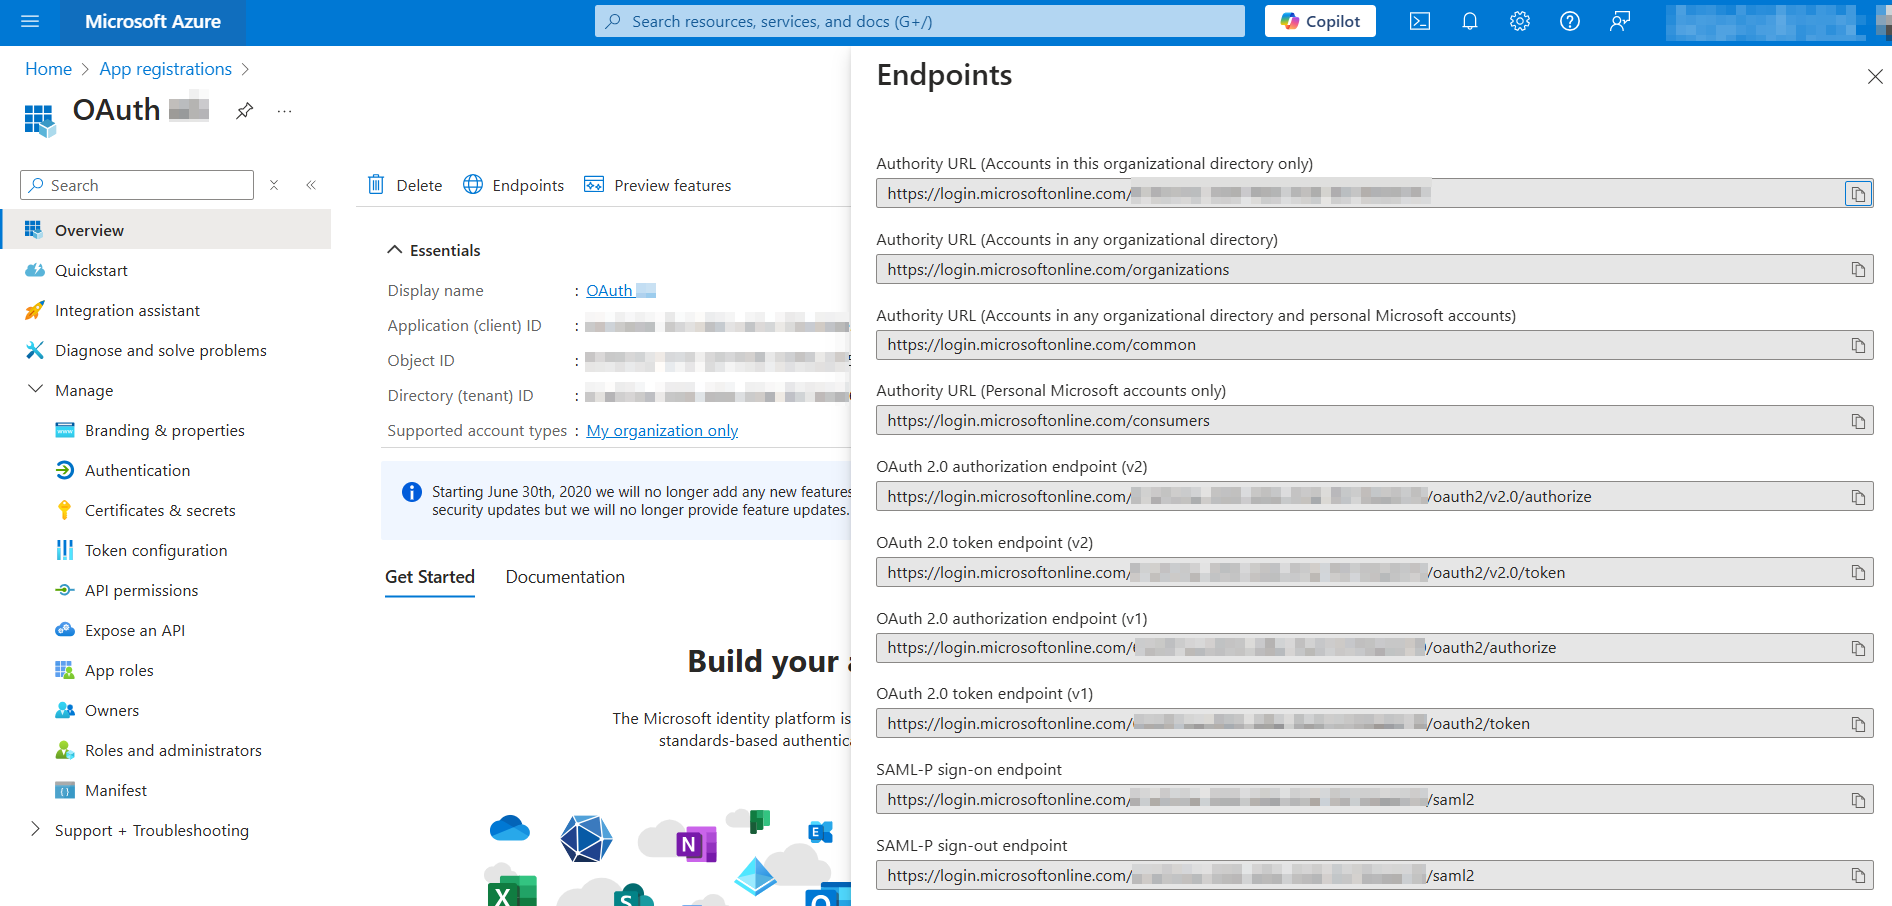
Client secret values cannot be viewed, except for immediately after creation. Be sure to save the secret when created before leaving the page. You don't need to copy the ID; we will need the value instead.Then, go to the Overview section and open the Endpoints tab.
Further steps for configuring the Redirect URL will be provided below.
Next, let’s head over to Integray.
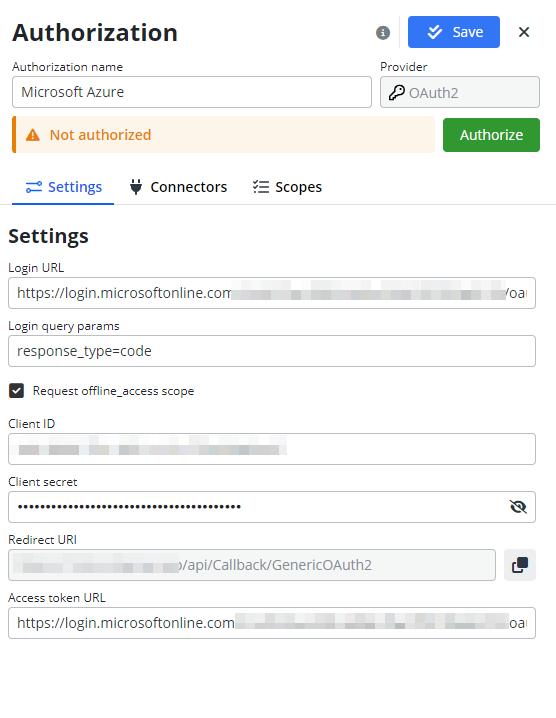
In the Authorizations section, we’ll set up a new authorization by clicking +Add and choosing OAuth2 as the provider.
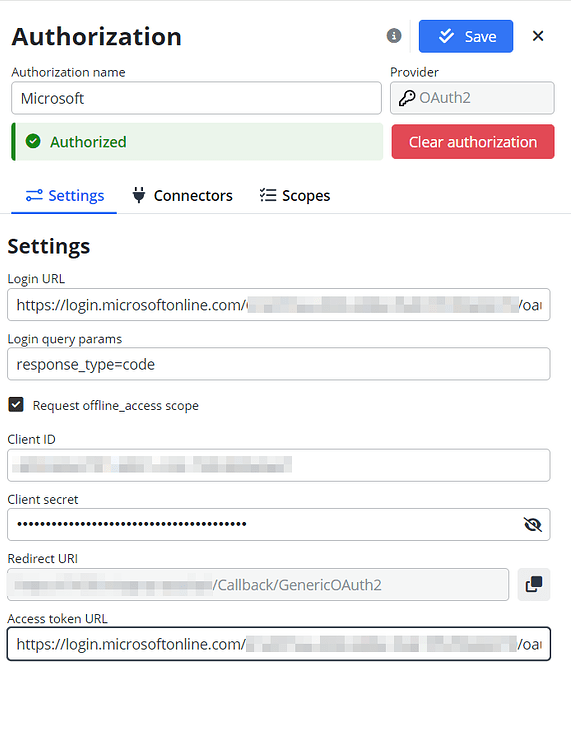
Settings
- Login URL: for Microsoft azure it is line OAuth 2.0 authorization endpoint (v2) from Endpoint tab.
- Login query params: use the pre-filled settings
response_type=code - Request offline_access scope: use the pre-marked checkbox as
True - Client ID: Copy the Client ID from the Application (client) ID field in the Overview section.
- Client Secret: Copy the Value (not the ID) of your Client secret, which you should have saved earlier.
- Redirect URI: predefined to the endpoint
api/Callback/GenericOAuth2Access Token URL: for Microsoft azure it is line OAuth 2.0 token endpoint (v2) from Endpoint tab.
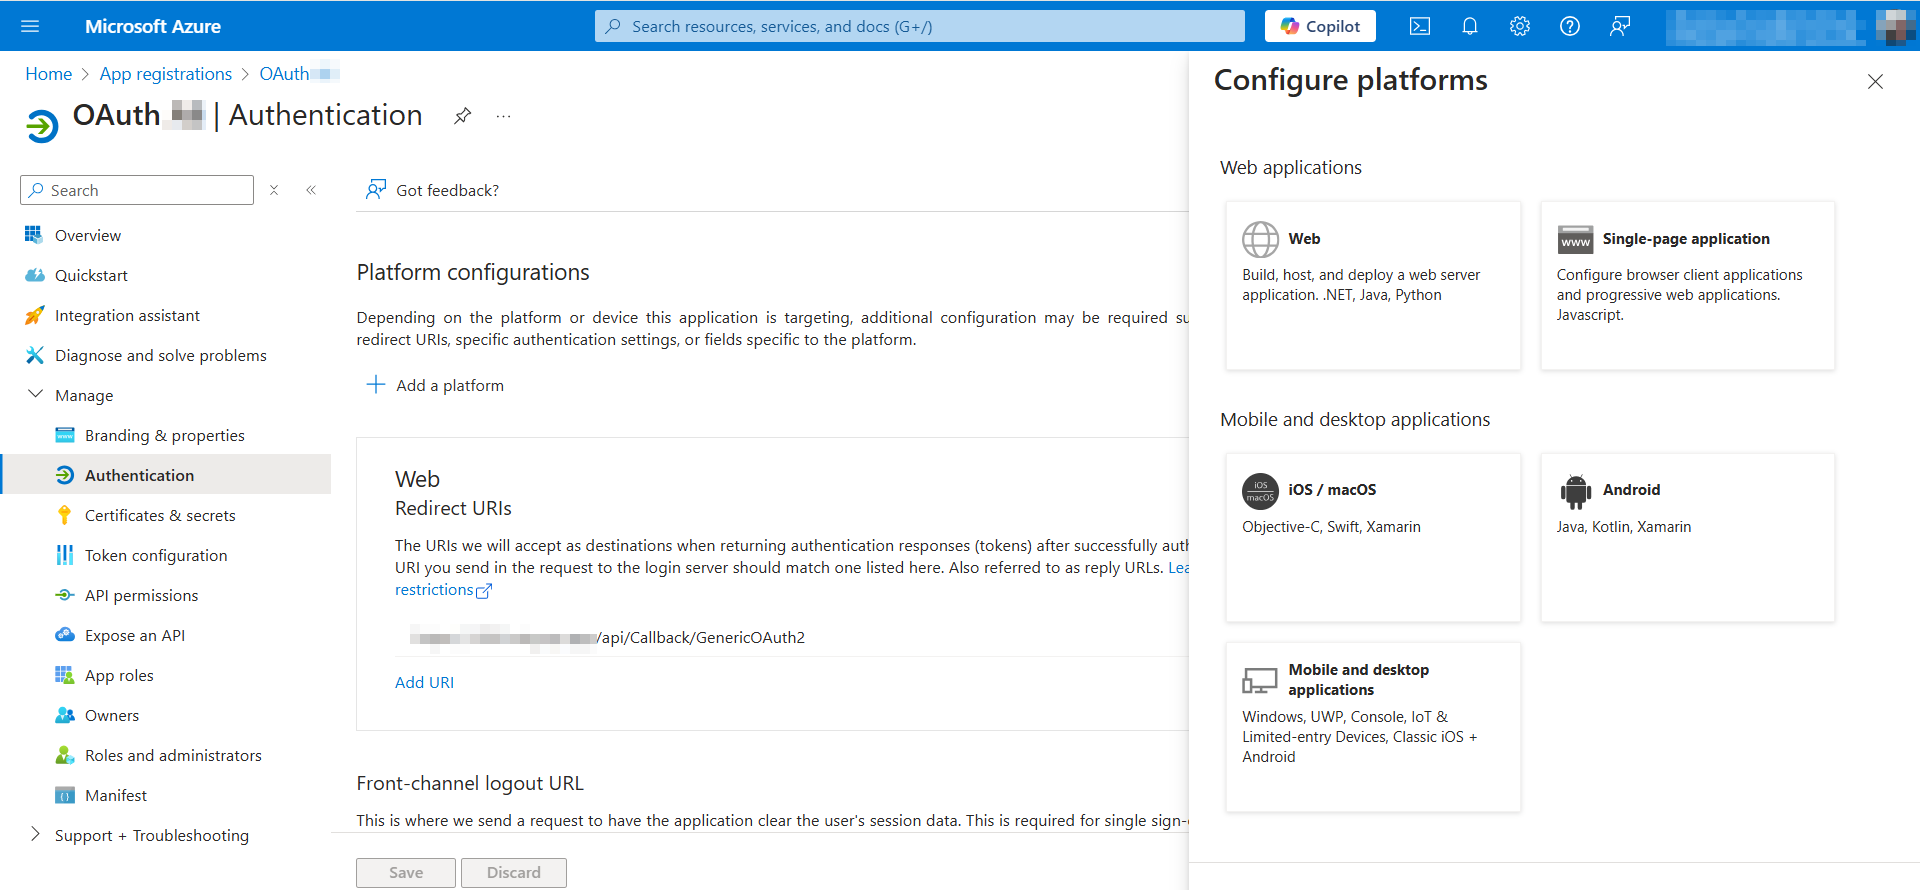
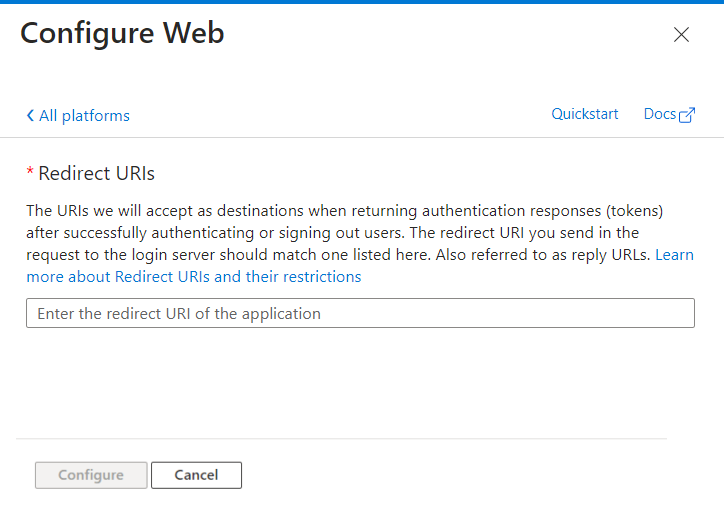
Now go to the Microsoft Azure platform and configure the Redirect URL. Klick on +Add a platform, select the platform – Web, and insert the redirect URL copied from your authorization in Integray. Click to Configure.
Configuring connectors
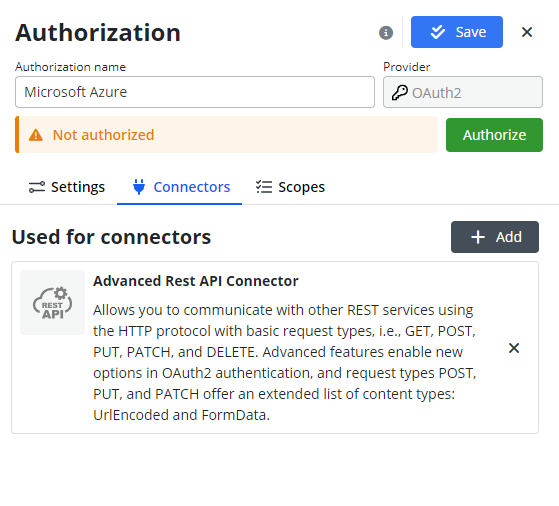
Currently, it is recommended to use this authorization with the Advanced Rest API Connector.
Reviewing and Customizing Scopes
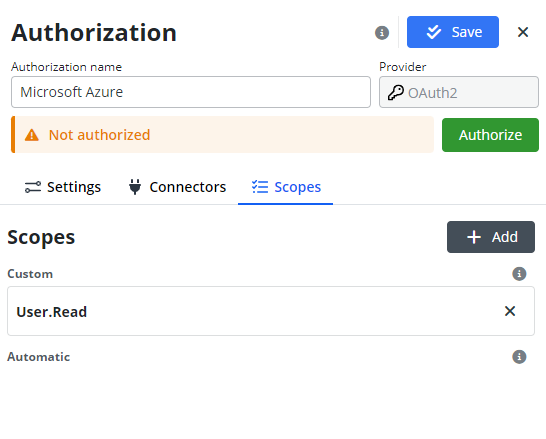
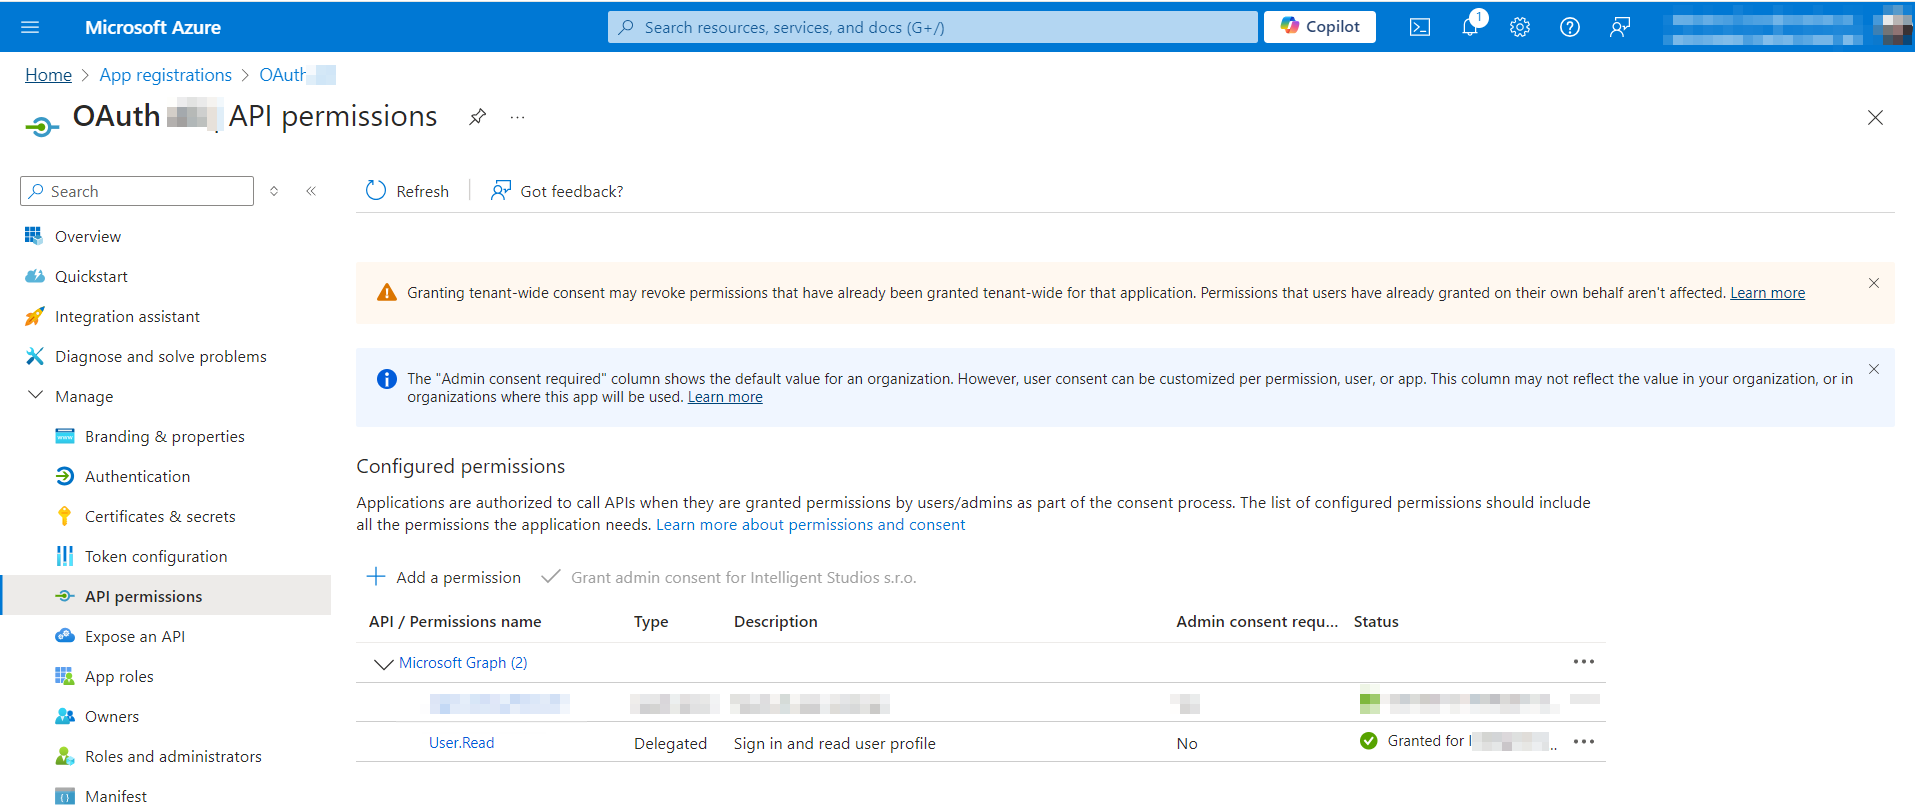
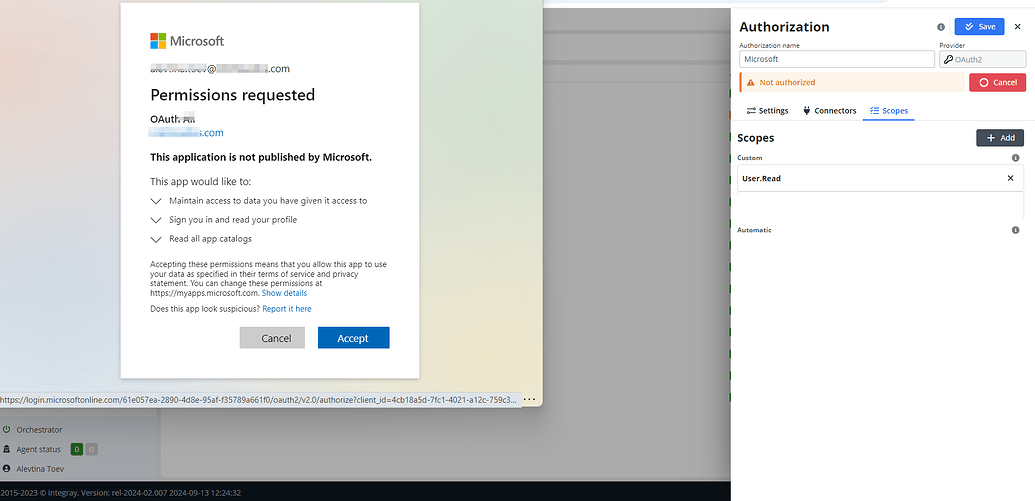
In the Scopes tab, you must define Custom Scopes to specify permissions according to your company’s needs, adhering to the principle of least privilege for enhanced security.
As we saw in the Auth tab on LinkedIn for developers, Scopes are defined based on the product you choose for your app. In Integray, we need to input the same scopes; otherwise, the authorization will not work correctly. Once connectors and scopes are configured, the authorization setup is complete. The system is ready for secure interactions, click the Authorize button, and accept requested permissions.
After successful authentication, the status indicator will change from Not authorized to Authorized , confirming the authorization.
Finally, click the Save button to store the new authorization.
Thanks for reading, and I hope this guide helps you with your setup!
Step-by-Step OAuth2 Authorization Process Using GitHub and MC DevOps on the YouTube.
Other useful Links:
