

DELETE
The DELETE method is used to remove a resource. When using the DELETE method with an Integray endpoint, you can effectively delete records or other resources, ensuring that they are removed from the system. The DELETE method is a straightforward way to manage the lifecycle of resources by allowing their clean and complete removal.
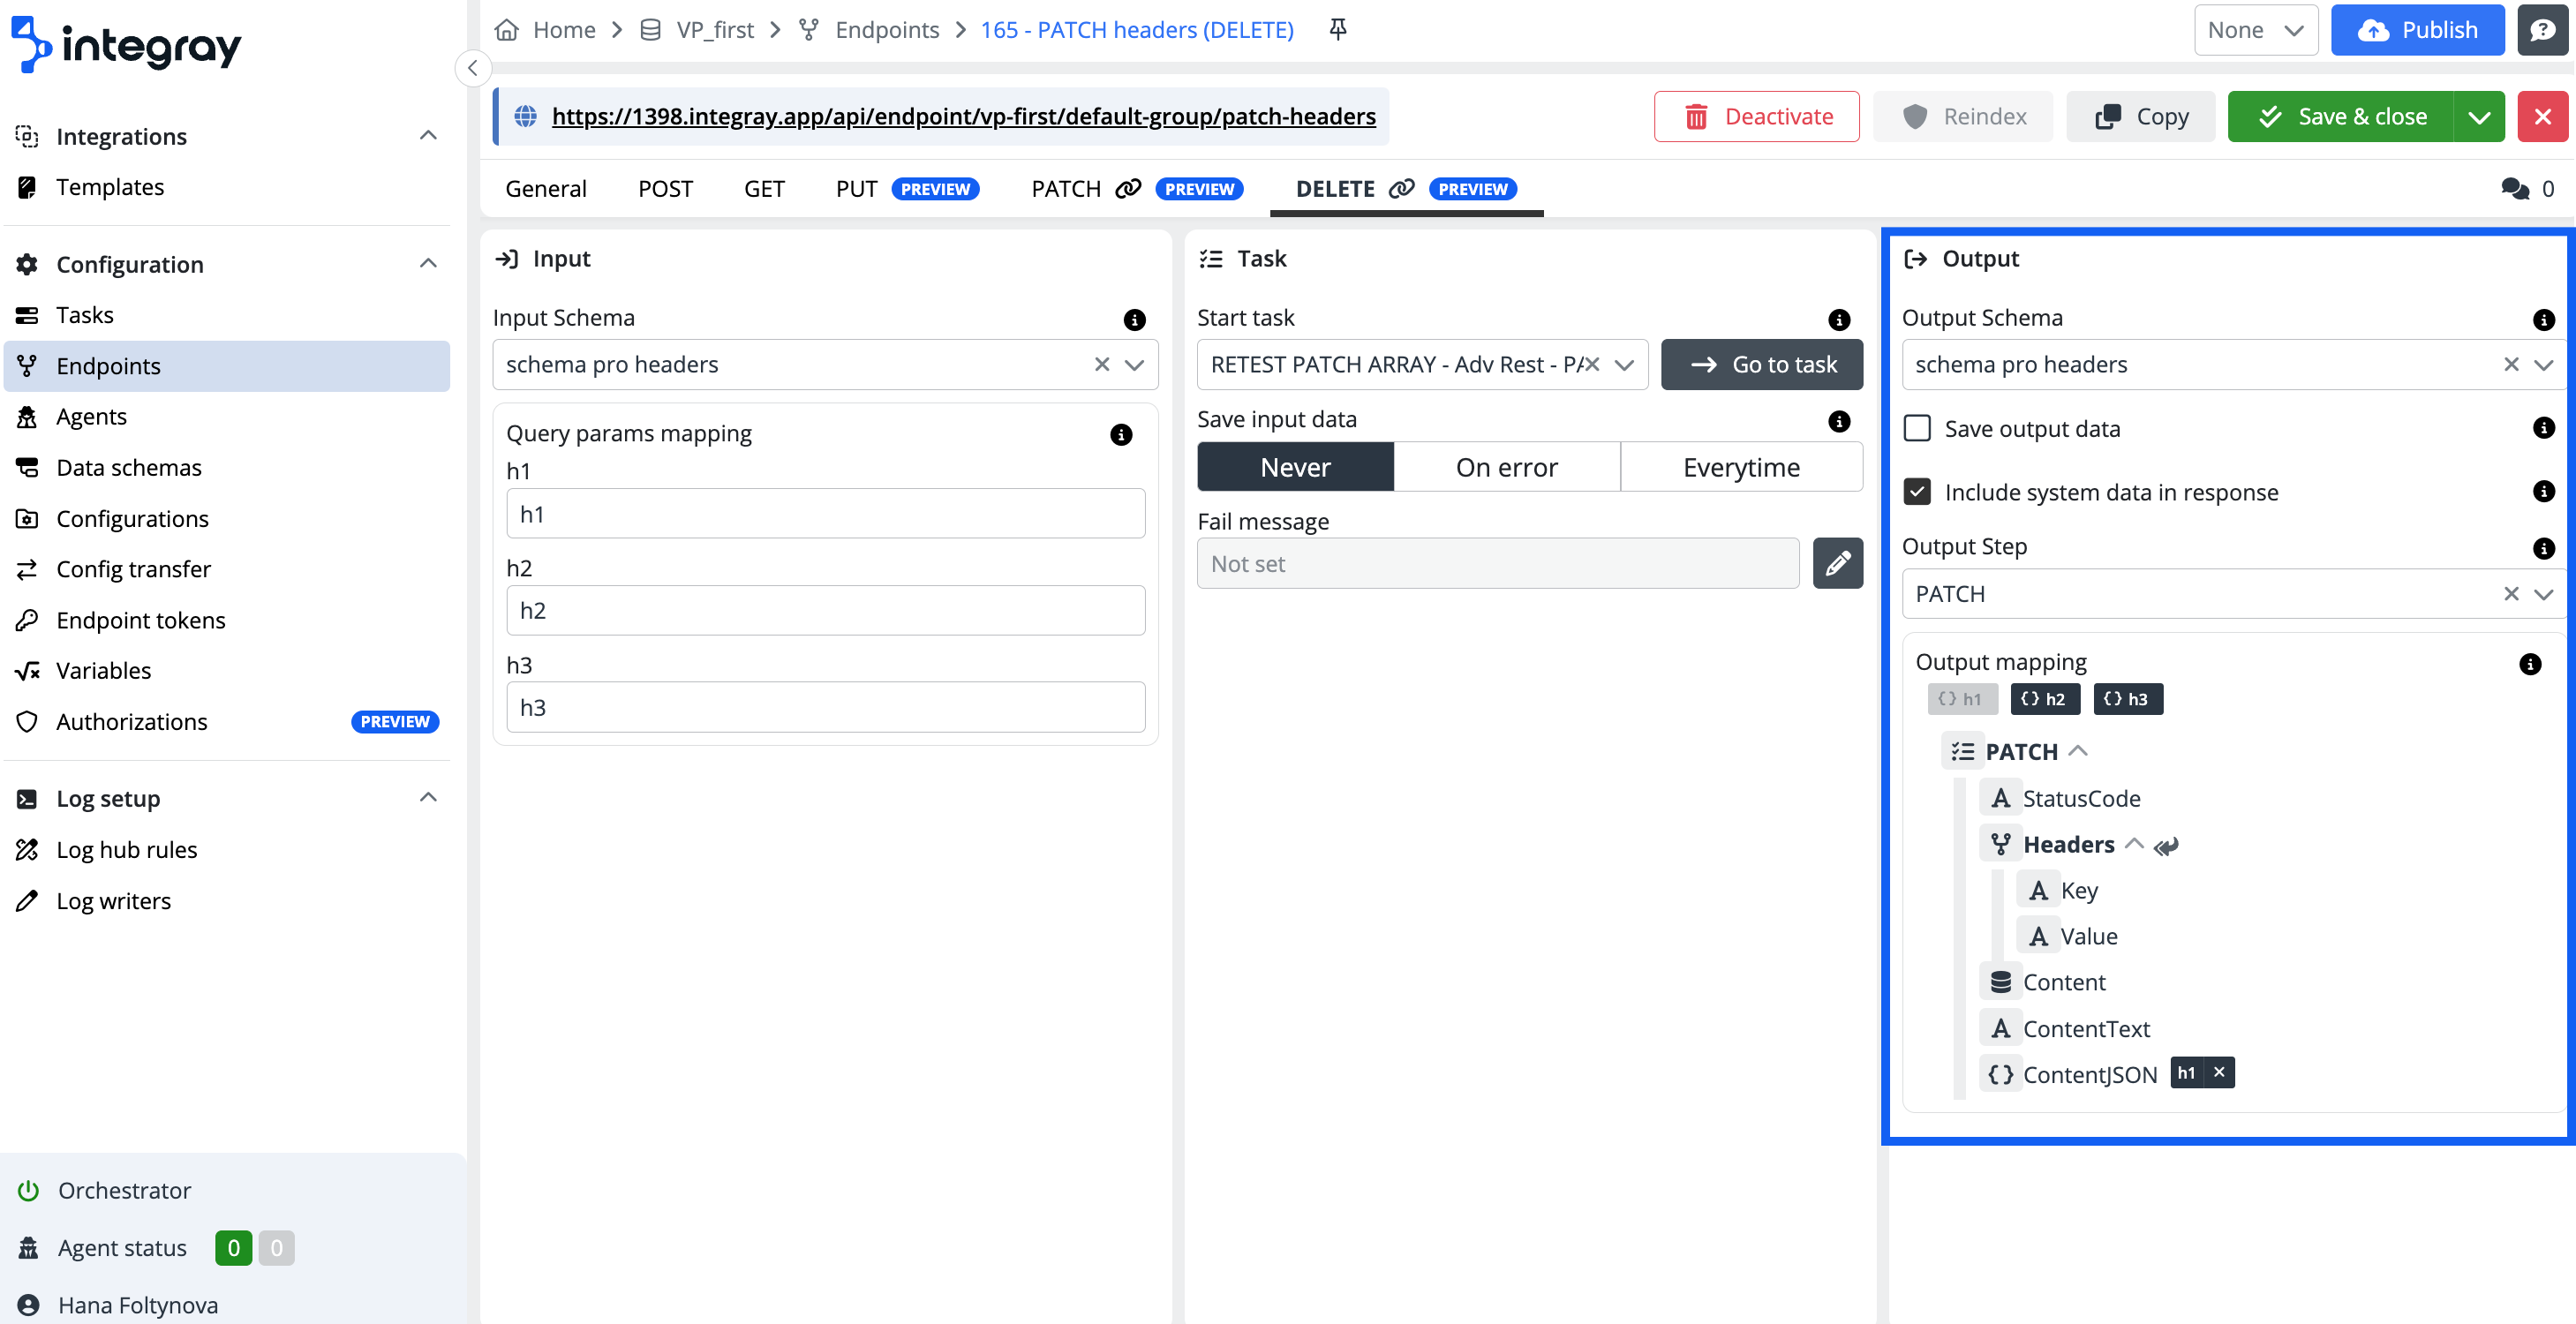
Configure the DELETE method for the created endpoint. The DELETE tab is divided into 3 sections: Input, Task, and Output.
The expected behavior:
-
Resource Removal: DELETE removes the specified resource from the system. After successful deletion, the resource should no longer exist.
-
Success Response: A successful DELETE request typically results in a
201 Createdor204 No Contentresponse, indicating that the resource was successfully deleted. If the resource did not exist, a404 Not Foundmight be returned. -
Data Validation: The server should validate the request to ensure that the specified resource can be deleted. If the resource cannot be deleted due to conflicts or constraints, the server should return an appropriate error code like
409 Conflict. -
Side Effects: Depending on the implementation, deleting a resource might trigger side effects, such as cascading deletions of related resources or triggering workflows to handle the deletion.
-
Security Considerations: DELETE requests should be properly authenticated and authorized, and are only possible if deletion is enabled (Allow deleting) on the General tab. Unauthorized DELETE requests should be rejected with a
404 Method Not Allowedstatus.
Expected behavior
DELETE {companySlug}/{endpointGroupSlug}/{endpointSlug} - with task - Executes tasks
DELETE {companySlug}/{endpointGroupSlug}/{endpointSlug}/{id:guid} - without task - Deletes data only (Allow deleting)
DELETE {companySlug}/{endpointGroupSlug}/{endpointSlug}/all - without task - Deletes all data (Allow deleting)
DELETE {companySlug}/{endpointGroupSlug}/{endpointSlug} - without task - Not found
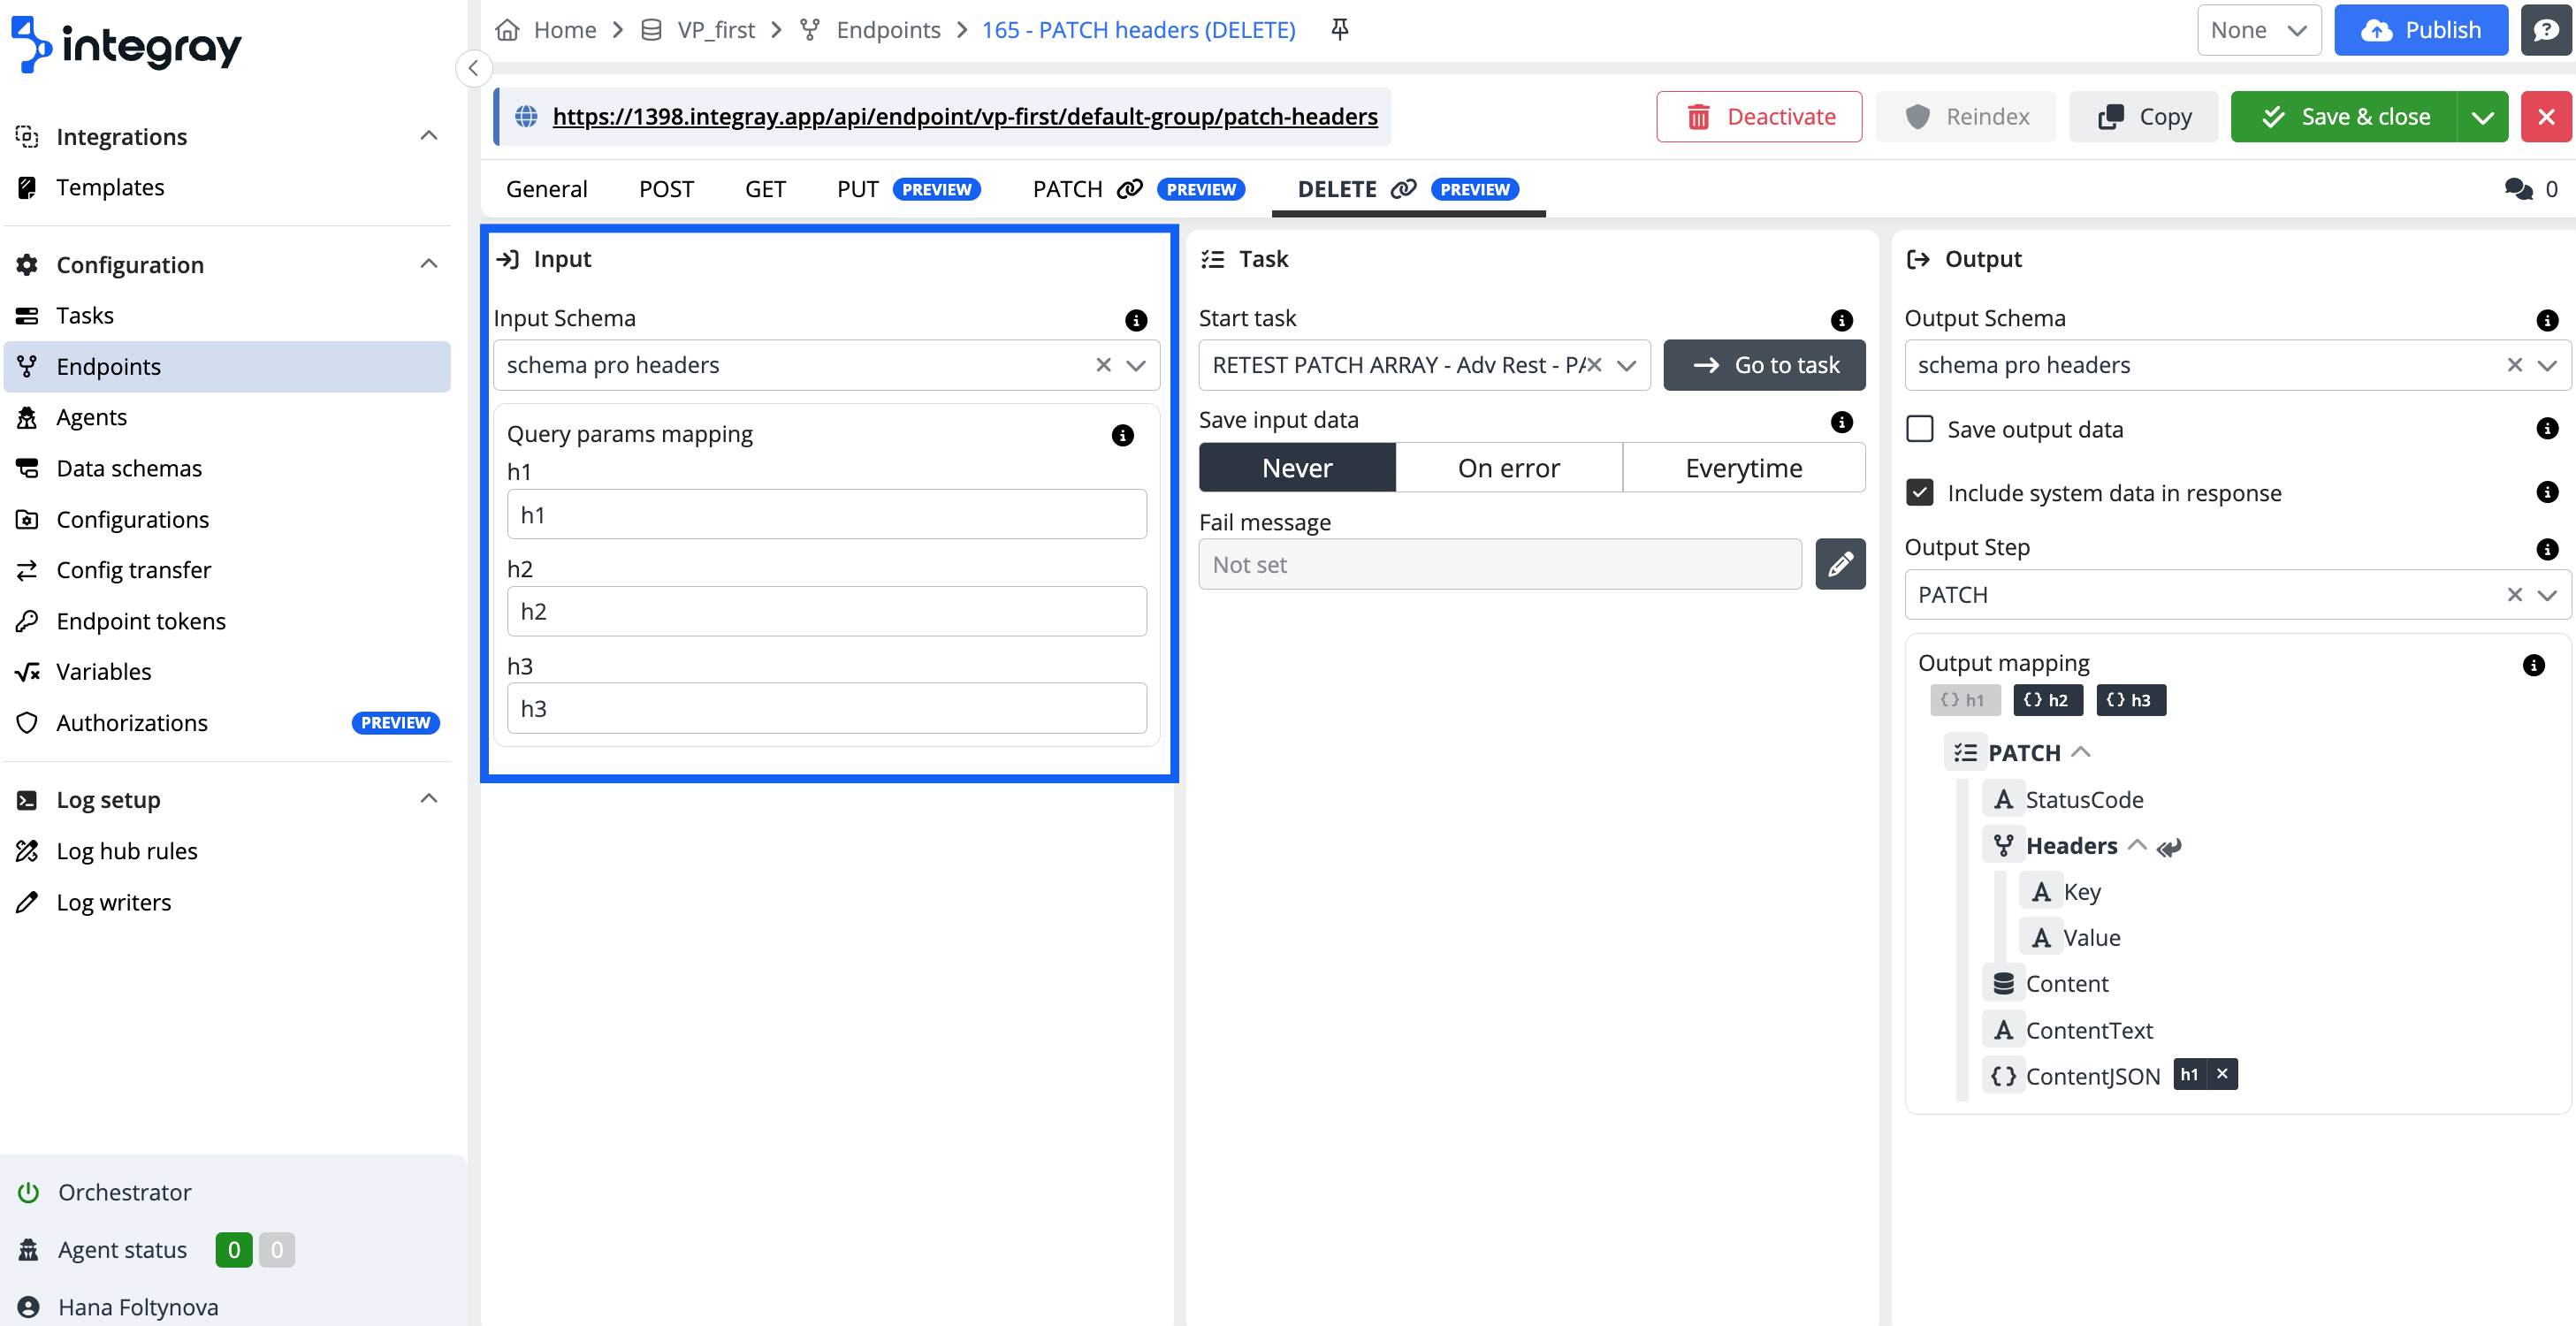
Input
-
Input schema - Defines the structure of the data that will be passed from the endpoint to the input of the task. This typically includes identifiers or criteria to locate the resource to be deleted.
-
Query params mapping - Query parameters or URL parameters or query strings are used when a client, such as a browser, requests a particular resource from a web server using the HTTP protocol. These parameters are usually the name-value pairs, separated by an equals sign
=. Query parameters have to be mapped against the structure of input data schema.Example:
-
Input data schema:
Data Data type Lang String Name String
-
Example
https://www.example.com/index.html?Lang=en&Name=John
DELETE parameters always start with a question mark ?. This is followed by the name of the variable and the corresponding value, separated by an equal sign, =. If an URL contains more than one parameter, they are separated by an ampersand &.
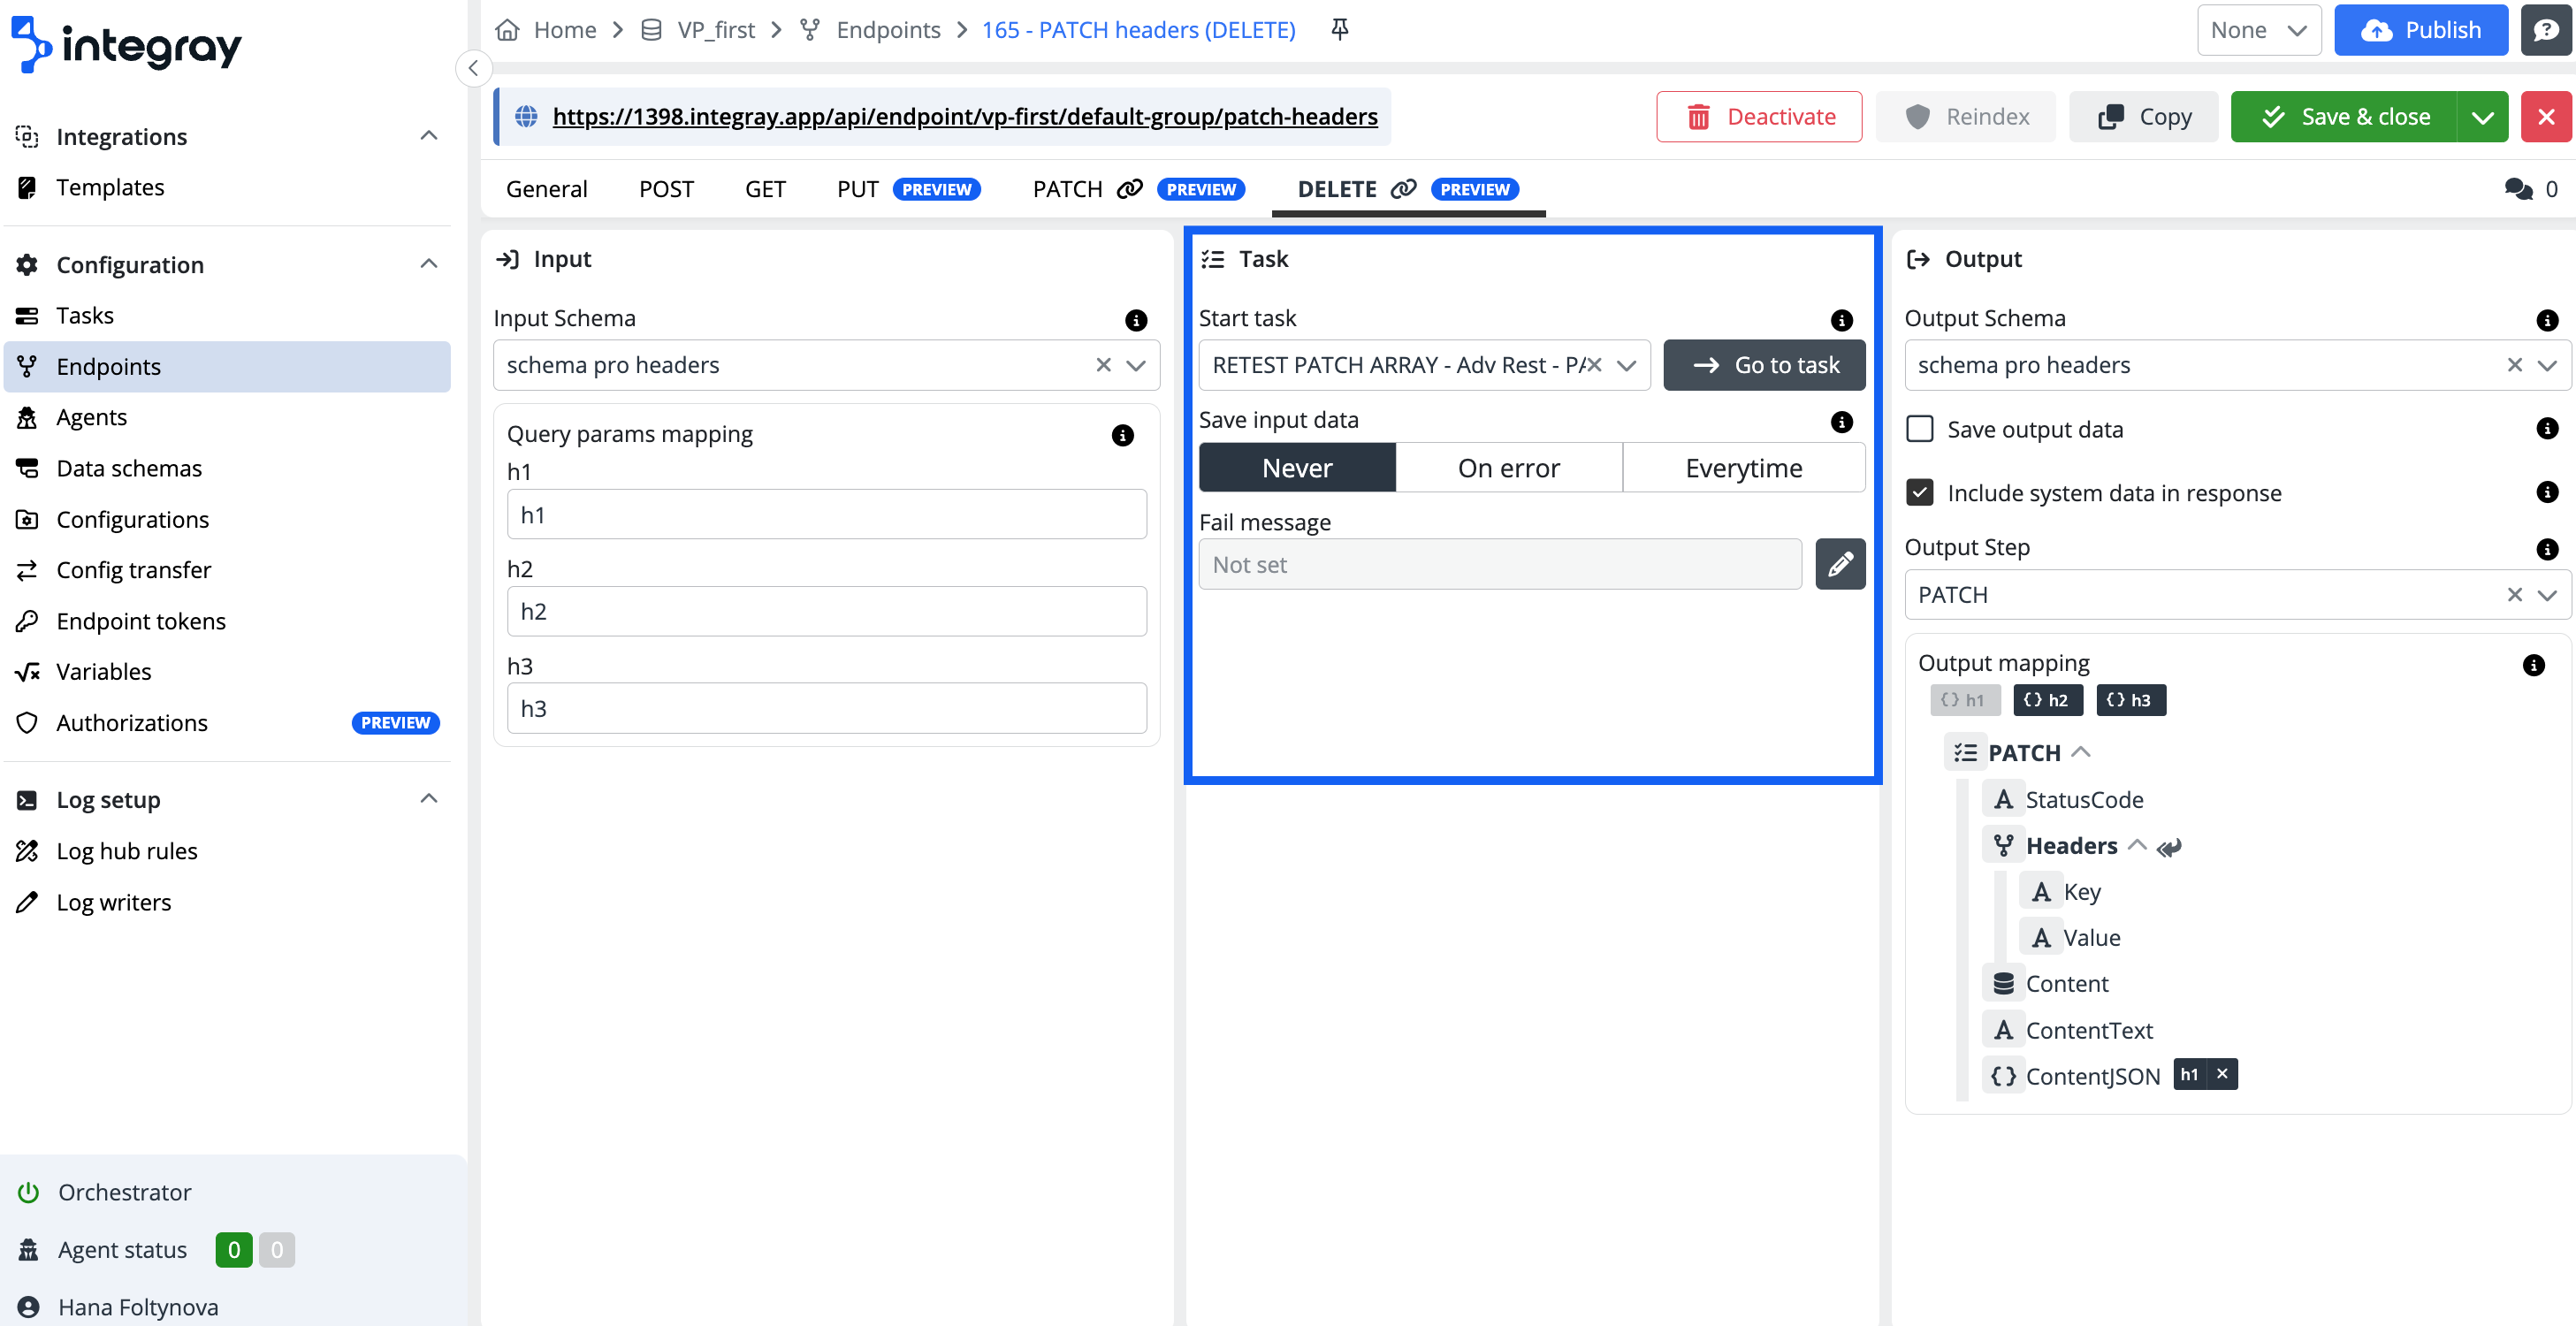
Task
-
Start task - Initiates the task when a DELETE request is received at the specified endpoint. The task processes the input data to locate and delete the specified resource.
-
Save input data - Input data can be saved to the database based on the selected settings.
- Never - Input data is deleted after processing.
- On error - Input data is saved only if the task fails.
- Always - Input data is always saved.
-
Fail message - Define custom messages to be displayed in case of failure. By default, Fail message is set to Not set.
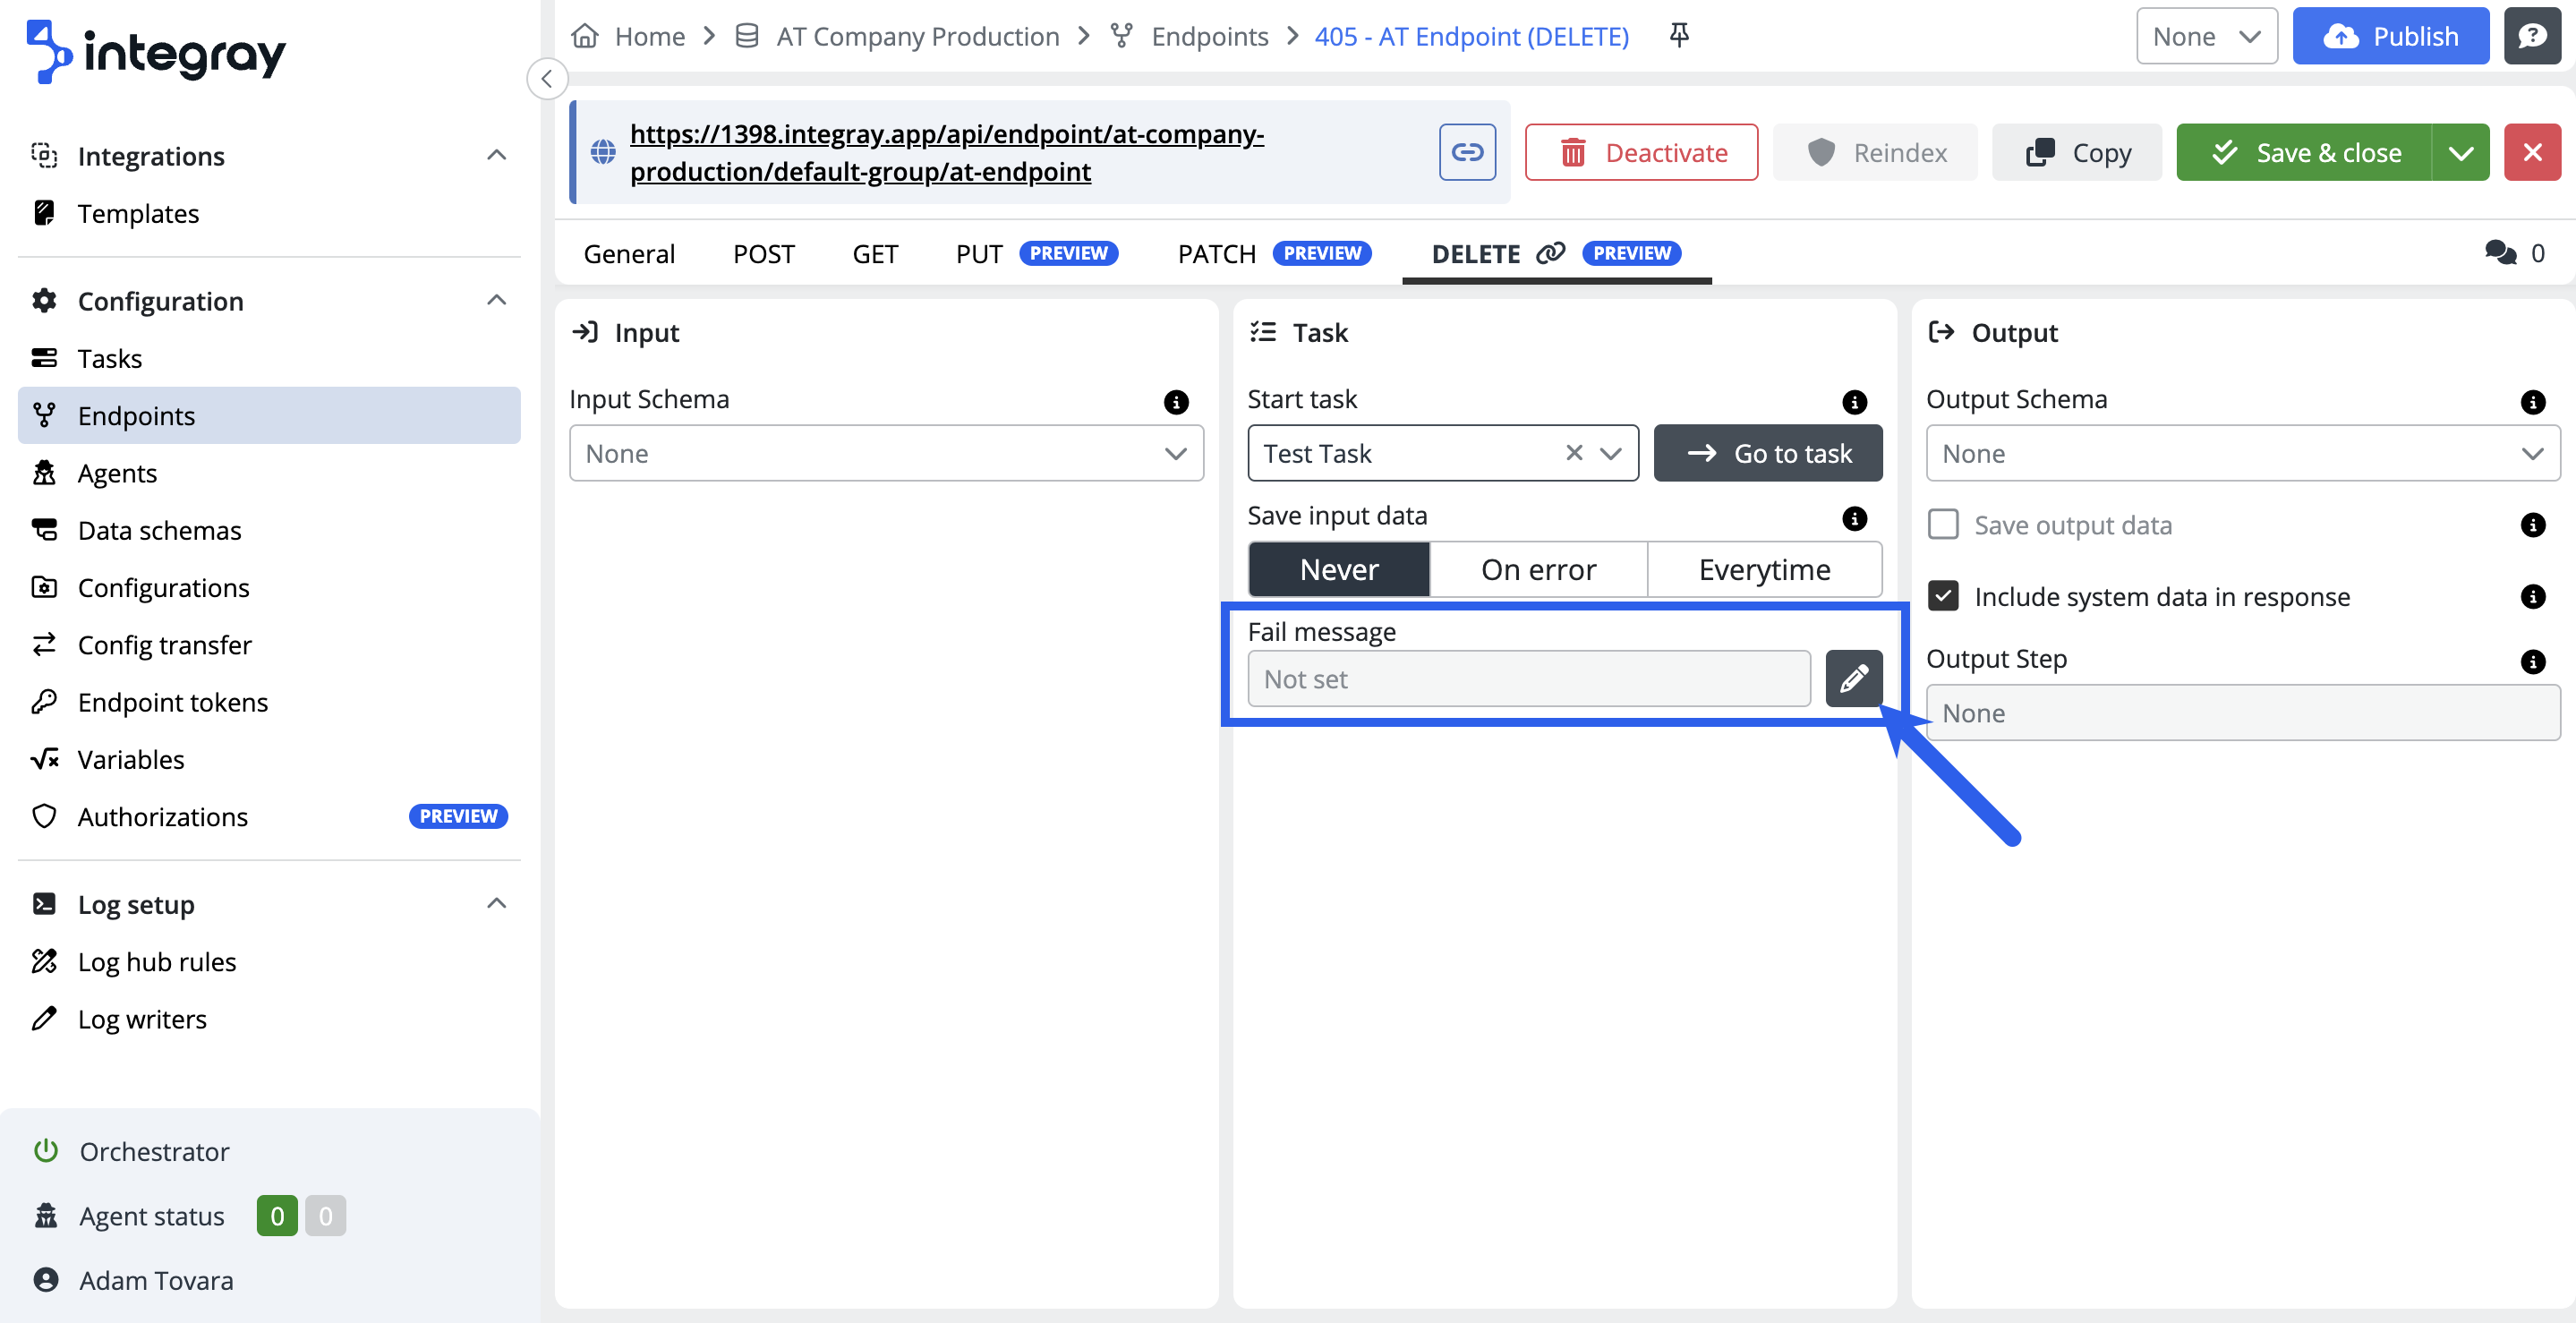
If configured, the status will change to Configured.
Click the pencil icon to customize fail messages.
+ Set default action
Set a default action to be executed if no other fail message rules are met. This action typically replaces the standard platform fail message.

Configure the default action in the Fail message rules dialog by entering your custom message and confirming.
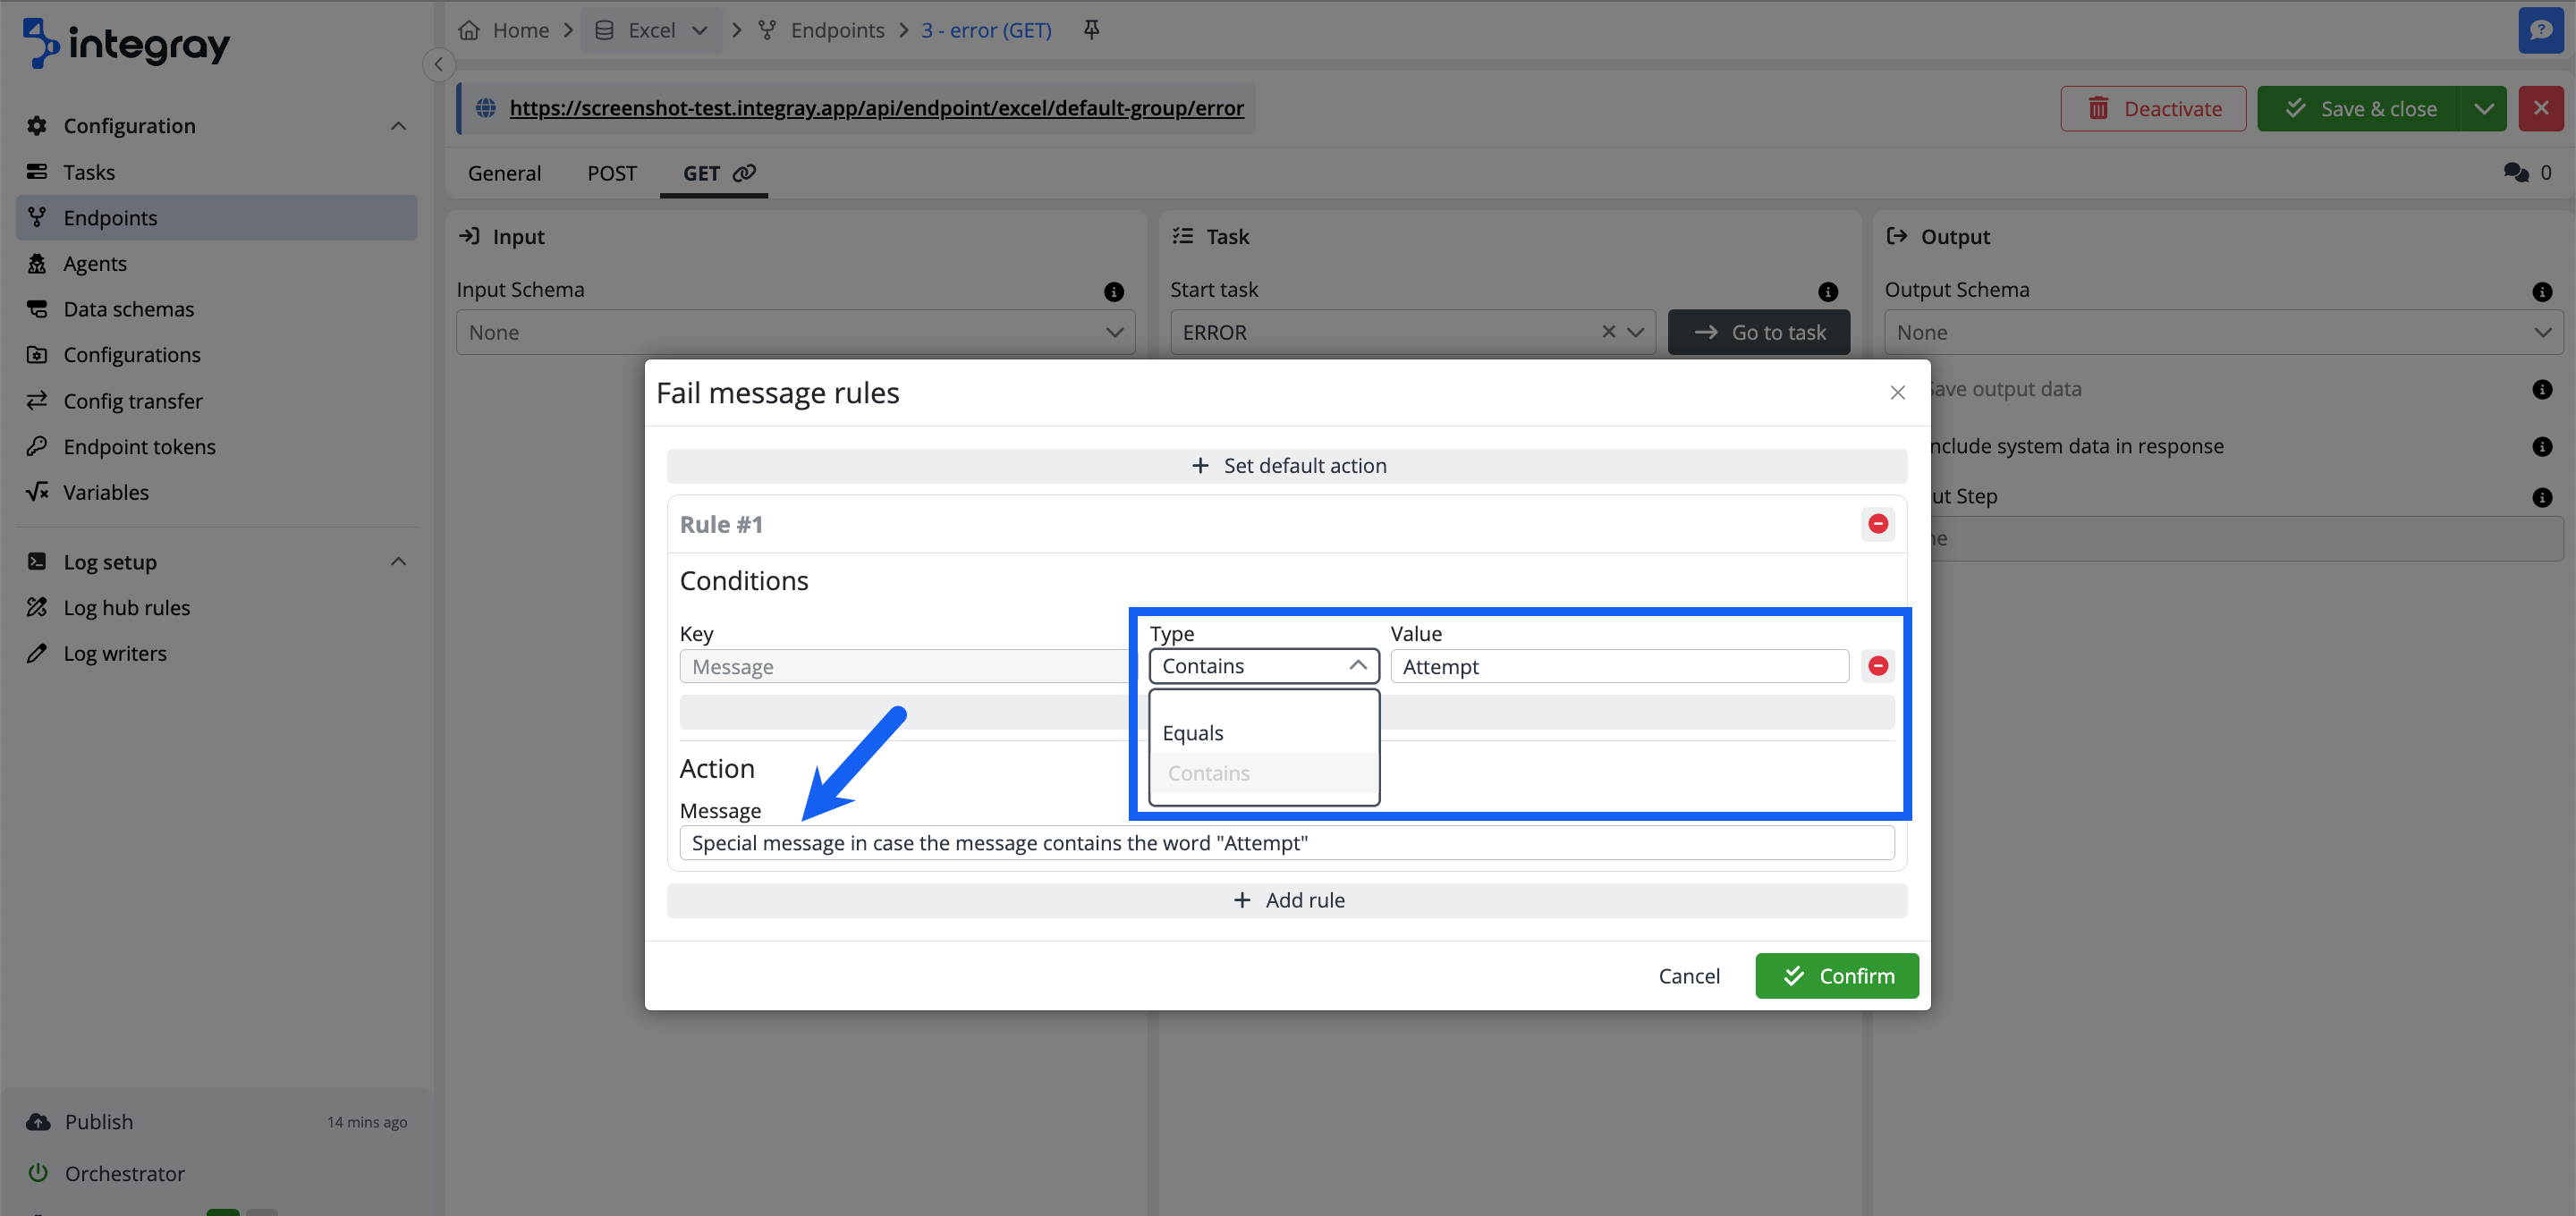
+ Add rule
Add custom rules to display specific messages based on the fail message content or type.
Condition
Select the condition type:
EqualsorContains
Specify the condition value and the action to be taken when the condition is met.
Example:
Customized fail message:
{
    "ID": "1fa2bd26-b1b0-4514-a81e-9b4eb78499e1",
    "Status": "FailedConnector",
    "Link": "https://screenshot-test.integray.app/home/company/2/task/4?taskRunID=102#history",
    "Message": [
        "Custom message triggered when the word 'Attempt' is found."
    ],
    "Result": null
}
Rule conditions
You can use more than one condition. The logical operator among the configured conditions is AND i.e. all set conditions must be met to trigger the action.
You can also define as many custom rules as you require. In case there are custom rules set and conditions are not met, the default action is triggered. In case the default action is not defined, the standard platform fail message will be returned.
Rule for non sensitive messages only
You have the ability to configure a custom error message; however, these rules are not applied to error messages containing sensitive information, such as connector configuration scripts in JavaScript, SQL, Node.JS, Python, or PowerShell.
Output
-
Output schema - The data structure that will make the endpoint response.
-
Save output data - If this option is selected, the result of the bound task is not only returned as the response of the endpoint, but also saved to the database.
-
Include system data in response - If selected, encapsulates the result of the task in the Data element and adds additional system fields.
Include system data in response - ON
    {
        "ID": "364fe099-ed93-ec11-8708-c89402b99bb6",
        "status": "FinishedSuccess",
        "Message": null,
        "Result": [
            {
                "hello": "Bob"
            }
        ]
    }
Include system data in response - OFF
{ "hello": "Bob" } -
Output step - Step, after which data will be selected from the data structure to be used as endpoint response.
-
Output mapping - Incoming data is transformed and then routed to specific fields based on predefined rules.